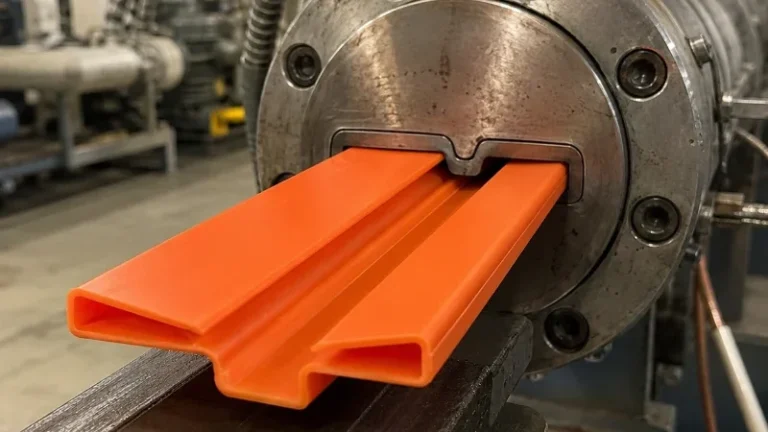
Screw cleaning is the least glamorous job on an extrusion line and one of the most expensive to get wrong. A screw that still carries degraded polymer, color streaks, or carbonized residue will contaminate every meter of extruded profile downstream, usually as gels, dark specks, or dull surface patches that appear far from the cause. It is one of the process-control basics behind consistent plastic extrusion molding output. This guide covers when to clean, which method fits which changeover, how to run a mechanical pull-and-clean, and how to verify the screw before releasing the line.
- Schedule screw cleaning by material change, color change, and stop duration — not by the calendar, because heat soak forms carbon faster than running time does.
- Match the method to the deposit: purge compounds for color and like-material changeovers, mechanical pull-and-scrape for carbonized residue, full teardown only when screw damage is suspected.
- Keep cleaning temperatures below the softening point of the residue; ISO 306 Vicat data for the previous compound sets a defensible ceiling.
- A purge stream that looks clean does not mean a stable process — re-qualify dimensions and surface on a first article before releasing the line.
- Record every cleaning cycle: compound, temperatures, time at temperature, and visual result. Repeatable records make the next changeover predictable.
Why Screw Cleaning Matters in Profile Extrusion
Every profile extrusion screw has regions where melt moves slowly: the root behind the compression section, flight clearances, mixer elements, and the transfer path through the adapter and die head. Polymer held at melt temperature for hours degrades — antioxidants deplete, molecular chains break or cross-link, and the stagnant layer darkens. When flow resumes, that layer shears off as gels and black specks that embed in the extruded profile surface. With heat-sensitive compounds such as rigid PVC, degradation can progress to discoloration within minutes at excessive temperatures.
The cost shows up at changeovers. Dark-to-light color changes amplify every trace of residue, and the first hours of a run after a poor cleaning are usually scrapped or downgraded. Screw design matters as well: the stagnation behavior of a mixing-type screw is not the same as a simple metering screw, and the cleaning plan should follow the actual screw geometry described in our guide to extrusion screw types.
ZetarVac runs co-extrusion combinations such as PP+TPV, PP+TPE, PVC+TPU, ABS+TPU and TPV+CPVC, with up to three layers in a single pass. Moving between dissimilar polymer pairs is exactly where a purge-only changeover fails, because the lower-viscosity layer carries residue color further through the profile cross-section.
The same logic extends beyond the screw itself. Adapter, breaker plate, and die head hold stagnant melt too, and in multi-layer work the layer-forming region of the die head is where cross-contamination becomes visible first.
How Often Should You Clean Extrusion Screws?
Clean at every polymer-to-polymer change between dissimilar resins, at every color change that moves dark to light, and after any unplanned stop of more than roughly half an hour at melt temperature. On a dedicated line running one compound, a preventive pull-and-clean every few production weeks is a reasonable starting point, adjusted by what inspection finds.
The clock that matters is residence at temperature, not machine hours. An overnight stop with full barrel heat does more damage to melt quality than a week of continuous running, because the stagnant layer keeps degrading with no flow to renew it. For PVC lines the rule is stricter: never leave the barrel hot and idle, and drop to a safe low temperature before any extended pause.
Material choice also sets the interval. Glass-filled compounds such as PP/GF abrade flight lands and accelerate wear, which shortens both the cleaning and inspection cycle. Highly pigmented and flame-retardant compounds leave more residue per hour of heat soak than natural resins do.
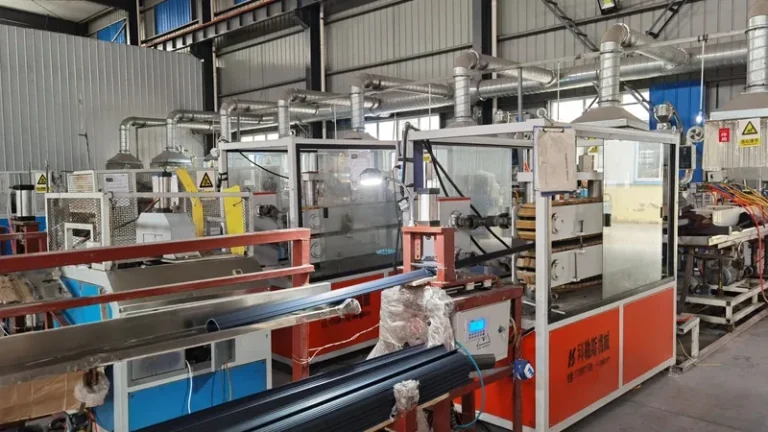
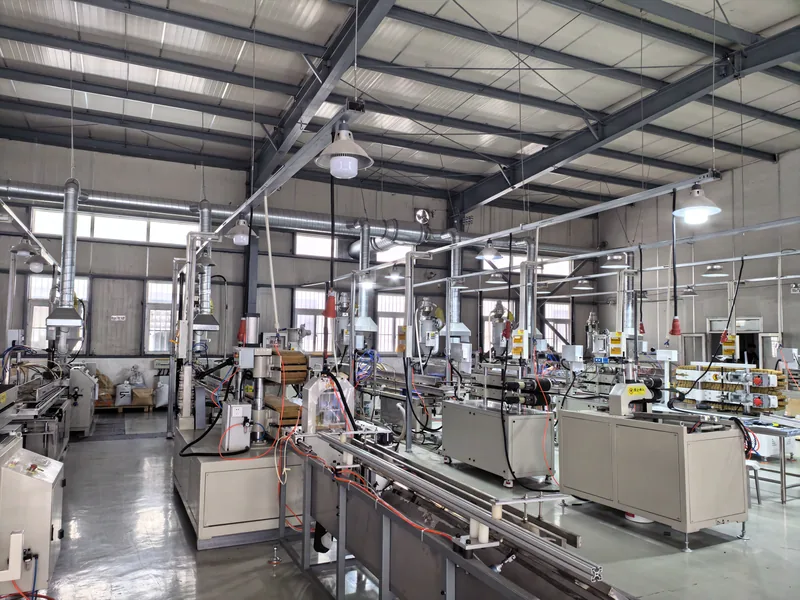
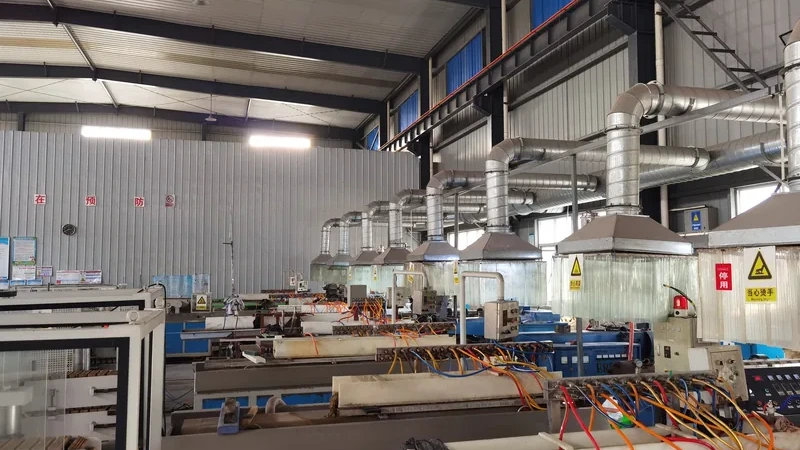
ZetarVac runs 7+ automated extrusion lines with a maximum profile width of 600 mm and a reference monthly capacity of roughly 300–500 tonnes across those lines. At that throughput, one unplanned screw pull can displace tonnes of scheduled output, so choosing between a purge changeover and a full pull-and-clean is a capacity decision, not just housekeeping.
What Are the Main Screw Cleaning Methods?
Four methods cover practical cases: purge compounds for color and like-material changeovers, mechanical pull-and-scrape for carbonized deposits, thermal soak with a compatible purging resin for heavy contamination in heat-stable materials, and full disassembly when damage or recurring gels point at the screw itself. Most plants combine methods rather than relying on one.
A purge compound1 works through viscosity mismatch and mechanical scouring. It must be matched to the process temperature window: a purge far softer than the production compound can leave an interlayer that streaks into the first hours of the next run, while a purge that is too stiff simply channels through the center of the flow. The melt flow index of the purge relative to the production resin decides whether it scours or channels2.
| Method | Best suited for | Typical downtime | Main risk if done wrong |
|---|---|---|---|
| Purge compound | Color change, like-for-like polymer change | Within a single shift | Residue streaks in early hours of next run |
| Mechanical pull-and-scrape | Carbonized or cross-linked deposits | Several hours to a full shift | Flight or barrel damage from steel tools |
| Thermal soak + purging resin | Heat-stable resins with heavy deposits | Overnight or longer | Overheating heat-sensitive residues such as PVC |
| Full teardown | Suspected screw damage, recurring gels | Multiple working days | Reassembly errors, missed wear measurement |

"A general-purpose purge compound works the same on every polymer family."False
Purge viscosity and chemistry have to match the polymer and the cleaning temperature. A purge that flows nothing like the production resin leaves interlayers and streaks, and the contamination reappears in the first hours of the next run.
"Purge compounds must be matched to the polymer and cleaning temperature."True
Keep the purge inside the temperature range that both the residue and the purge material tolerate. On a PVC line the plan is built around heat sensitivity rather than color load, and the temperature ceiling comes from softening data, not from processing habit.
How Do You Execute a Mechanical Pull-and-Clean?
Drop the barrel to the low end of the processing window, purge the barrel as empty as possible, pull the screw hot with proper extraction equipment, and clean it with brass or copper tools while it is still warm. Inspect the root, compression section and flights, measure against the wear record, then reassemble with recorded clearances.
Step 1 — Cool down with intent. Reduce setpoints toward the low end of the previous compound’s processing window so the residual melt stiffens instead of carbonizing. The aim is a screw you can pull and wipe, not a barrel full of scorched polymer.
Step 2 — Empty the barrel. Purge with a compatible cleanup resin until the stream thins, then stop feeding and run the screw until it pumps air. An empty barrel makes the pull safer and shortens cleaning time substantially.
Step 3 — Pull hot, clean warm. Pull the screw with a proper extraction rig. Brass scrapers, copper brushes and non-metallic pads remove deposits without cutting the flight lands; steel tools are off limits. Degraded material concentrates at the compression section root and behind mixer elements, so spend the time there.
Step 4 — Inspect and measure. Check flight outside diameter against the wear record and look for scratches that would become new stagnation sites. Measure the barrel internal diameter at the same time, because flight-to-barrel clearance grows together.
Step 5 — Protect on reassembly. Clean mating surfaces, apply the approved assembly compound, and torque to the recorded values. A screw pulled and rebuilt without records is a new source of process variability.
What Goes Wrong When Cleaning Is Done Wrong?
The typical failures are carbon that heat cannot remove, scratched flight lands from steel tools, overheated PVC residue, and lines released to production on the strength of a clean-looking purge stream alone.
"Running the barrel hot with long purge times removes carbonized residue."False
Heat alone does not remove carbon: degraded polymer cross-links, hardens, and adheres to the metal. Long heat soak oxidizes the layer further and makes the following black specks worse, often to the point that only a teardown fixes the line.
"Carbonized deposits require mechanical action or a dedicated purging compound."True
Carbon is removed by scraping or by a purge engineered to attack deposits, not by temperature alone. Build the plan around removing the layer, then confirm under strong light that the root and compression section are clean before reassembly.
Two details decide whether the job holds. First, temperature discipline: keep cleaning setpoints below the Vicat softening temperature of the previous compound3. ISO 306 specifies the Vicat softening temperature test for thermoplastics, and it gives the cleaning team a defensible ceiling for how far a heat-sensitive residue may be pushed before it carbonizes further. Second, tool discipline: every steel scratch on the screw root becomes a new stagnation site that collects the next carbon layer.
How Do You Verify a Screw Is Production-Ready?
Start with a visual inspection under strong light, then measure flight and barrel wear against the records, then ramp up and take a first article before releasing the line to production.
The screw root should show a clean, near-mirror surface; gray or brown staining means residue survived the cleaning. Growing flight-to-barrel clearance causes output instability and melt temperature rise through backflow, so wear measurement is part of the same check. Ramp up cautiously: low screw speed, gradual temperature approach, and discard the first melt until the stream stabilizes. For downstream symptoms that survive a changeover — gels, dark specks, streaks, die lines — work through the causes in our extrusion defect troubleshooting guide.
"Once the purge stream looks clean, the line is ready for production."False
A clear purge stream proves the free flow path is clean, not that the stagnant zones are. Gels can keep bleeding for hours, and the first symptoms are usually surface defects and dimension drift rather than visible color change.
"First-article dimension and surface checks follow every major cleaning."True
Measure the profile cross-section against the drawing and inspect the surface under strong light before releasing the line. Cleaning disturbs die flow, and drift shows up in dimensions before anyone sees a black speck.
If reworked purge material is reground and blended back into a structural compound, tensile properties tested to ASTM D638 — the default tensile test cited for extruded profiles — give a direct check that the extra heat history from cleaning and rework has not cost the material strength or stiffness4.
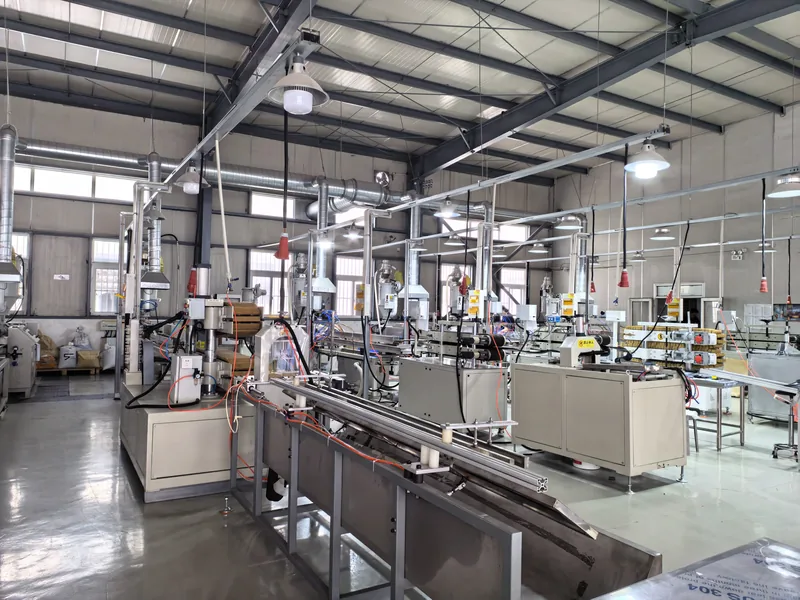
The minimum achievable dimensional tolerance on a profile cross-section at ZetarVac is ±0.05 mm, subject to material and section geometry. A capability like that leaves little room for hidden contamination: a gel at the die land shows up as surface streaking and dimension drift before anyone notices a speck.
FAQ About Cleaning Extrusion Screws
How long does a full screw pull-and-clean take?
On a mid-size profile line, a pull-and-clean typically takes the better part of a working shift once cool-down, pulling, cleaning, reassembly and heat-up to melt temperature are all counted. Full teardowns that include wear measurement and possible seal or heater replacement can span several working days, which is why the preventive schedule exists.
Can you clean an extrusion screw without pulling it?
Yes for most color and like-material changeovers: purge compounds and thermal soak cycles handle those without disassembly. Pulling is reserved for carbonized deposits, recurring gels, suspected screw damage, and scheduled wear inspection.
What is the safest way to clean a PVC extrusion screw?
Minimize hot residence above all: purge promptly, drop setpoints well below the degradation range, and never leave PVC in a hot idle barrel. Pull at the lowest practical temperature and clean with soft tools; PVC residue that has overheated carbonizes fast and usually needs mechanical removal.
Do purge compounds damage screws or barrels?
Commercial purges are formulated to be non-abrasive at their use temperature, and at normal setpoints they are safe for screws and barrels. The real damage risk comes from steel tools during cleaning and from overheating heat-sensitive residues, not from the purge material itself.
Can purged material be reground and reused?
Only after a deliberate decision, not by default. Like-material purge from a clean changeover is sometimes blended at low ratios into non-critical products; purge that is discolored, cross-contaminated, or heat-degraded should be scrapped, and structural applications deserve property verification before any reuse.
If you are comparing suppliers for a profile extrusion program, review your drawings against the process side of this decision — share your drawings and talk to an engineer through our China plastic extrusion manufacturer page.
-
Purge compound: A processed resin or blend run through the screw, barrel and die head to displace, soften or mechanically scour residue during material or color changeovers. ↩
-
Melt flow index: The mass of polymer pushed through a standard capillary in ten minutes under a defined load and temperature; a practical proxy for melt viscosity. ↩
-
Vicat softening temperature: Defined by ISO 306, the temperature at which a flat needle penetrates a thermoplastic specimen a defined depth under load, used as a heat-resistance indicator. ↩
-
ASTM D638: The standard test method for tensile properties of plastics, the default tensile test cited for extruded profile materials. ↩