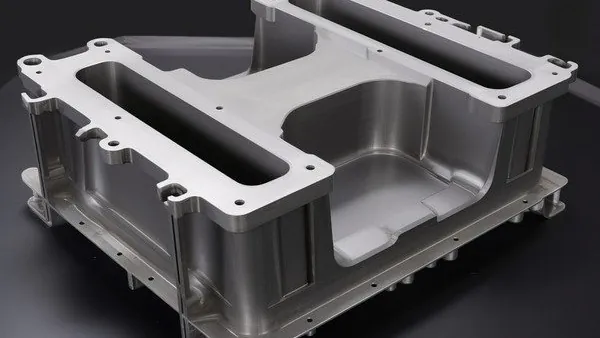
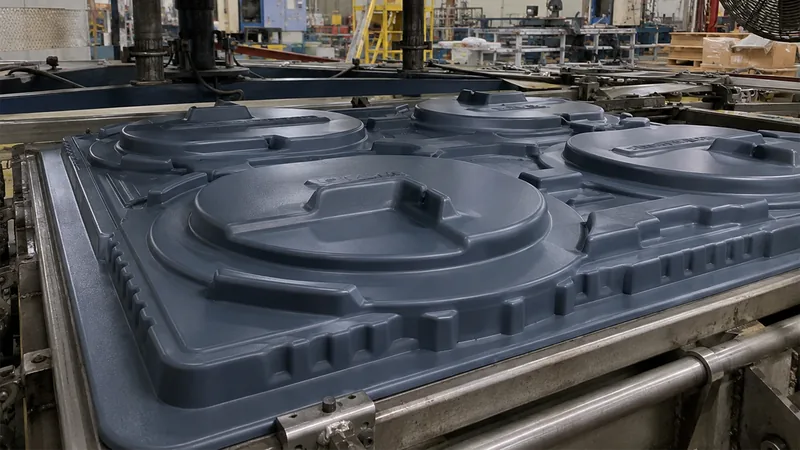
A vacuum formed part can be geometrically perfect and still get rejected, because the surface does not match what the drawing promised. Finish is where most of those disputes start. On a heavy gauge part, finish covers texture, gloss, color consistency, and the condition of trimmed edges, and it is controlled by three decisions: the tool surface you build, the sheet material you form, and any treatment applied after forming. This guide walks through each decision with the parameters, failure modes, and acceptance checks that matter when you specify a finish on a heavy gauge thermoforming part and have to defend it at incoming inspection.
- Finish on a formed part comes from three sources: the tool surface, the sheet material, and post-forming treatment. Specify all three on the drawing.
- Mold texture is the most repeatable route for opaque parts; it hides chill marks and gloss variation better than a polished tool.
- Texture depth must be scaled to sheet thickness and draw depth. A grain that transfers cleanly at 3 mm can wash out at 1.5 mm.
- Clear PC and PMMA parts need polished tools and controlled heating; texture is not an option on an optical face.
- Every finish needs a measurable acceptance criterion: a retained master sample, a gloss or transmittance value, or a flammability rating.
What Does Finish Mean on a Vacuum Formed Part?
Finish is the combined surface condition of a formed part: texture, gloss level, color, and the state of cut edges. It is a drawing specification, not a decision left to the shop floor after the first part comes off the tool.
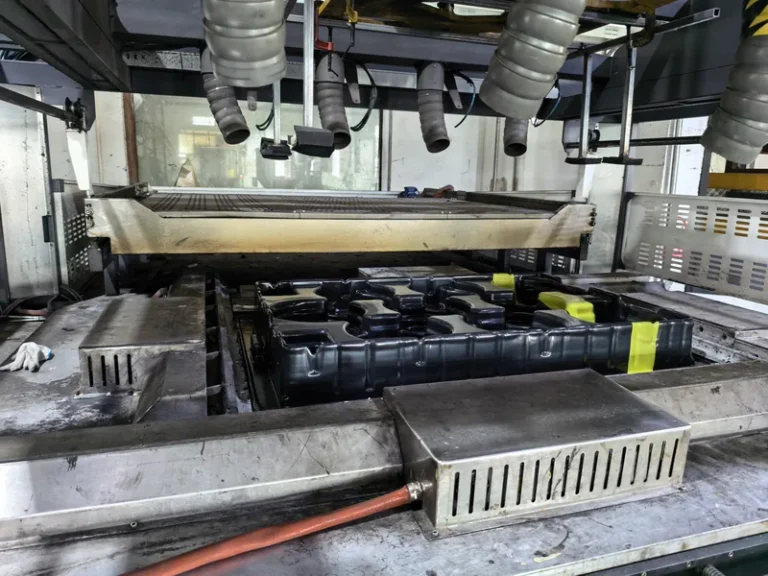
A vacuum formed part has two different faces, and they rarely look alike. In vacuum forming, the tool side carries the mold surface, so it takes on whatever texture or polish the tool was built with. The free side keeps the surface of the incoming sheet, which is why sheet quality and handling matter as much as tooling for the non-cosmetic face. When you define finish on a drawing, state which face is cosmetic and which standard applies to it.
Finish also splits into two routes with very different cost behavior. In-tool texture is built into the mold1 and repeats identically on every cycle. Post-forming treatments such as painting or texture coating are secondary operations that add per-part cost and a second quality gate. Deciding the route early avoids redesigning the tool later, and this guide on how to determine the right texture for a vacuum formed part covers that selection step in detail.
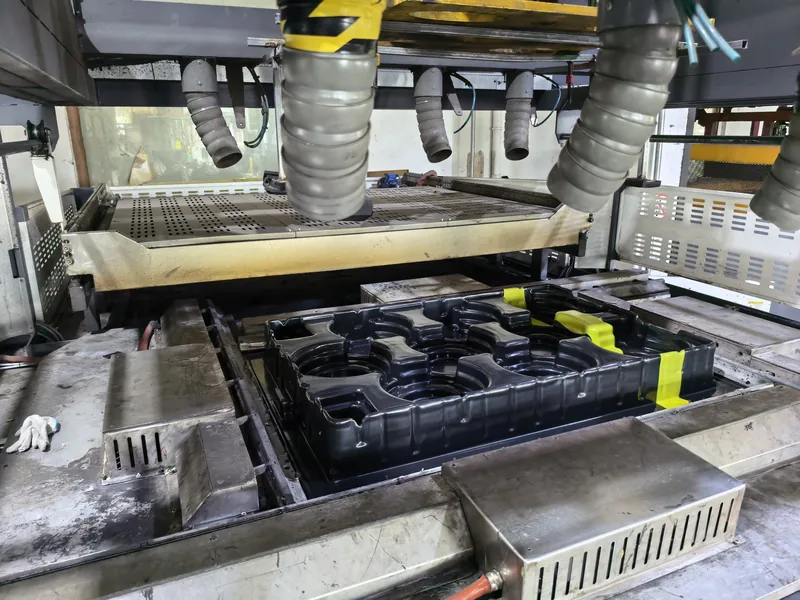
One more interaction is easy to miss: texture changes the required draft. As a common rule of thumb, textured walls need roughly 1 degree of additional draft for every 0.25 mm of texture depth, or the grain scuffs during part removal. On deep-draw heavy gauge parts, that extra draft has to be built into the tool before the texture is applied, not negotiated afterward.
Where Does the Finish Come From: Tool Surface or Post-Processing?
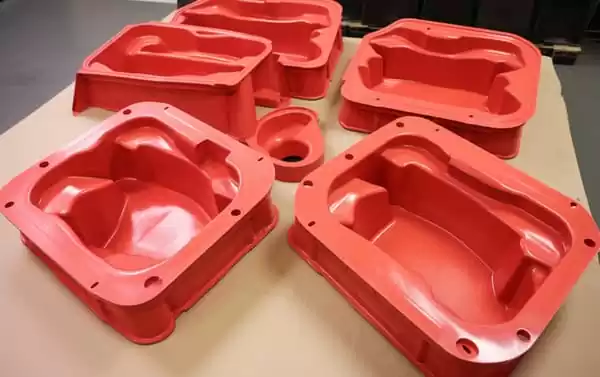
Tool surface options in heavy gauge thermoforming fall into three groups: polished tools, chemically etched grains, and EDM or cast textures. Polished tools suit clear materials and high-gloss consumer parts. Etched grains cover most industrial work, from light orange-peel to deep leather grains, and they are specified by a grain number that the tool shop reproduces. Because the process uses single-sided tooling, the tool side is usually the cosmetic side, and the finish spec should say so explicitly.
Pressure forming is worth noting here: where a cosmetic face needs sharper texture detail than vacuum alone can pull, positive air pressure pushes the sheet into fine grain features that would otherwise soften. It adds tool cost, so it is justified mainly on visible housings where texture sharpness is a design requirement.
"A polished, mirror-finish tool always gives the best surface on a formed part."False
A polished tool shows every defect the sheet carries: chill marks, moisture streaks, and surface scratches all transfer directly to the cosmetic face. On most heavy gauge parts, a light mold texture hides these and produces a more uniform appearance at lower process sensitivity.
"A slight tool texture often outperforms polish on opaque parts."True
A fine grain diffuses gloss variation across the formed surface and masks sheet-side marks that a mirror tool would expose. That is why many industrial enclosures and housings are specified with a light etched grain rather than a polished surface.
Tool finish also decides what the process can forgive. A textured tool tolerates normal variation in sheet temperature and heater output; a polished tool does not. The closer you get to a mirror surface, the tighter your heating profile and sheet handling have to be, which is a real cost in daily production, not just in the tool quote.
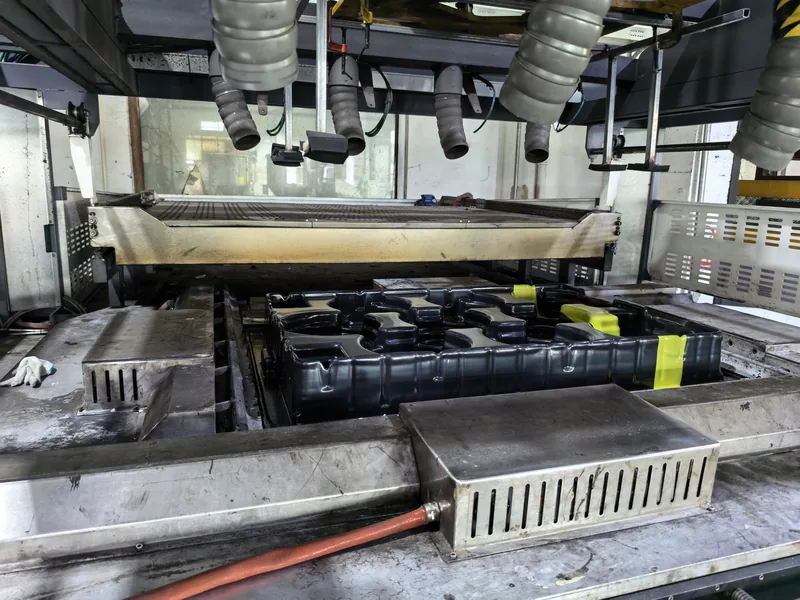
ZetarVac processes sheet from 0.5 to 15 mm with a maximum forming length of about 2,500 mm. That span means finish decisions scale with part size: the texture that transfers cleanly on a small tray cannot simply be copied onto a two-meter enclosure panel, because draw depth, cooling behavior, and sheet sag all change with size.
How Do Material and Sheet Thickness Change the Finish Choice?
Material sets the ceiling for what a finish can achieve, and sheet thickness decides how much texture detail survives forming. Choose the pair together, not separately, or the finish will fight the material.
ABS and PC/ABS are the workhorses for textured and painted finishes: they accept etched grains cleanly, bond well with paints, and form with stable surface quality across a wide heating window. PMMA and PC are the clarity choices; their finishes are specified in optical terms and verified with measured transmittance rather than visual approval. HDPE and PP texture well in the tool but resist paint adhesion, so any post-form coating on polyolefins needs surface treatment first. TPE and TPU liners take on soft-touch textures but are rarely cosmetic surfaces.
Gauge interacts with texture in a specific way: during forming, the peaks of a grain stretch and thin more than the valleys. On deep draws with thin sheet, the peaks can thin to the point where the texture washes out, leaving a semi-gloss patch inside an otherwise matte surface. Matching grain depth to the thinnest wall on the part, not to nominal sheet, prevents that.
If the finish route involves paint or a baked-on coating, the curing oven has to run below the material’s heat deflection temperature, or the part warps on the rack2. For formed equipment housings and guards, UL 94 constrains the whole decision: the standard grades the flammability of plastic materials3, and any post-form coating has to preserve the rating the base resin was selected for.
"The same mold texture works at any sheet thickness."False
Texture detail transfers only while the sheet is hot enough to conform, and heavy gauge sheet cools unevenly across deep draws. A grain chosen for thin stock washes out or tears at heavy gauge, leaving patchy gloss that no cheap secondary operation can fix.
"Texture depth must be matched to gauge and draw depth."True
Deeper textures need thicker sheet and more forming draft to transfer without tearing. Matching the grain to the thinnest wall on the part, not the nominal sheet, keeps the finish consistent across the whole formed surface.
Matching the Finish to the Application
The table below condenses the decision into the four routes that cover most heavy gauge work.
| Finish Route | What You Get | Best Suited For | Main Watch-Out |
|---|---|---|---|
| Mold texture (etched or EDM) | Repeatable grain on the tool side, hides process marks | Enclosures, housings, trays, industrial liners | Needs extra draft; texture washes out on deep draws |
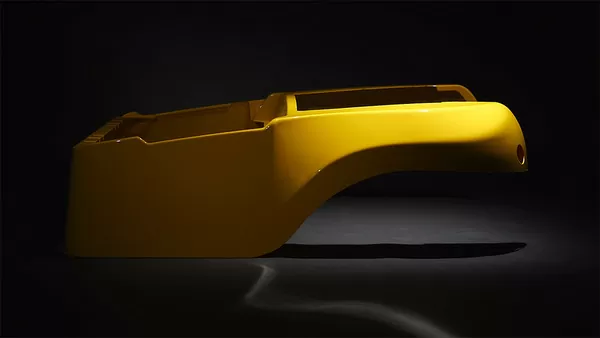
| Polished tool | High gloss or optically clear surface | Clear PC and PMMA covers, display parts | Exposes every sheet and process defect |
| Post-form paint | Custom color, gloss control, two-tone masking | ABS and PC/ABS housings, guards | Curing heat must stay below the material’s HDT |
| Post-form texture coat | Non-slip or soft-touch surface on selected areas | Tool trays, liners, work surfaces | Adhesion depends on base material; polyolefins need treatment |
Application examples show how these routes combine. An ABS multi-cavity seedling tray for agricultural use lives outdoors and gets handled with gloves, so a light in-tool texture gives grip and hides scuffs without any secondary operation. A PC housing for medical and diagnostic equipment is a different problem: large curved surfaces, custom cut-outs, and mounting holes, where the finish spec has to cover both the formed surface and the machined openings.
A PMMA display cover for retail sits at the third extreme, where the entire value of the part is optical clarity and the finish is verified by measurement. For that clarity case, ISO 13468 is the acceptance tool: the standard specifies how total luminous transmittance of transparent plastics is measured, which turns a clear part’s finish from a visual argument into a number both parties can check4. Pair it with a defined haze limit on the drawing and the display cover ships without dispute.
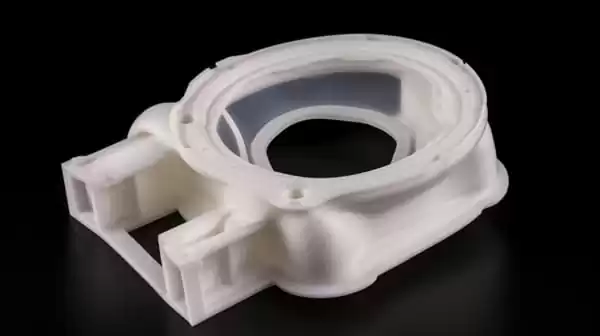
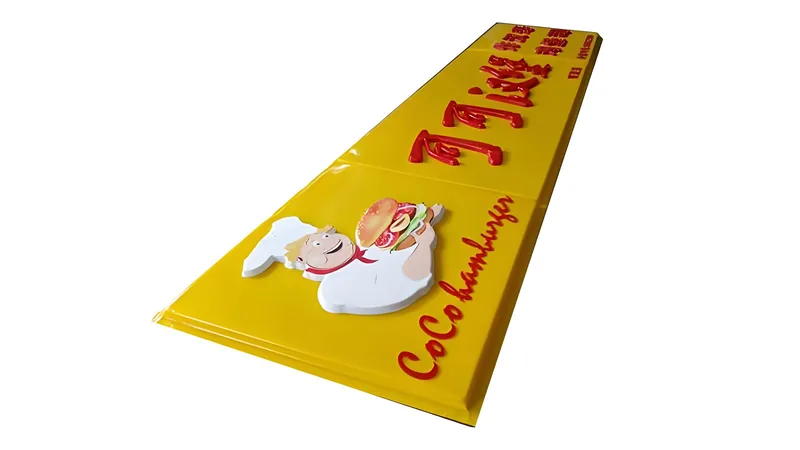
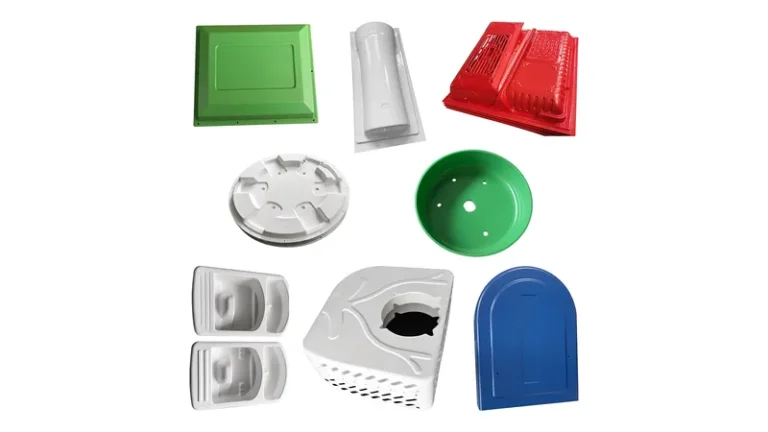
The plant forms ABS, PC, PMMA, HDPE, PP, PC/ABS, ASA, and other engineering grades, so the finish route can be matched to the material instead of forced onto whatever stock is on hand. A buyer who needs a textured ABS housing and a clear PC window can source both within the same forming process family.
Which Defects Tell You the Finish Was Specified Wrong?
Gloss variation across one part, texture washout on deep draws, shiny chill marks, and scuffed edges after trimming are the four signs that the finish and the process were never matched. Each one points to a specific cause.
Gloss variation usually traces to uneven sheet heating or a mold temperature that drifts as the run continues. Chill marks, the shiny spots where the sheet touched the tool before it was fully conformed, get worse with thick sheet and cold tools, which is why heavy gauge work pays close attention to preheating. Moisture streaks on ABS come from wet resin in the sheet and are fixed upstream by drying, not by polishing. Texture washout is the gauge and draw-depth problem described earlier, and edge scuffs after trimming point at the cutting method or fixturing rather than forming.
The general reference for connecting these symptoms to process causes is the SPE Thermoforming Division, whose technical publications cover troubleshooting for both thin and heavy gauge thermoforming processes. Use such references to frame the failure, then run a controlled trial on your own tool, because heater layouts and tool materials differ from plant to plant.
"A good first article proves the finish will hold across the production run."False
Sheet lots change, heater output drifts, and mold temperature climbs as the run continues. Any of these shifts gloss and texture transfer, so a first article approved at the start of a shift can drift out of appearance tolerance before the batch ends.
"Finish consistency needs a retained master sample and periodic checks."True
Approve a signed master part, then compare production parts against it at fixed intervals with gloss readings on flat areas and light-booth comparison. This catches drift early, while the fix is still a heater adjustment rather than a rejected batch.
When appearance defects do reach a customer, the review should separate tool-caused, process-caused, and handling-caused marks, because each has a different owner and a different fix. That separation is what turns a finish complaint into a corrective action instead of an argument.
Formed parts at ZetarVac are trimmed on a 5-axis CNC centre, so cut-edge quality is part of the finish specification rather than a separate manual step. When you define finish on a drawing, include the trimmed outline and edge condition alongside the surface texture callout.
FAQ: Finishing Vacuum Formed Parts
Can you paint or coat a vacuum formed part after forming?
Yes, but adhesion depends on the material. ABS and PC/ABS accept paint with light preparation, while HDPE and PP need surface treatment such as flame or plasma before coatings bond reliably. Remember that a coating becomes part of the delivered surface, so its effect on the flammability rating and on scratch resistance belongs in the specification.
How deep should mold texture be for a 3 mm sheet?
For a 3 mm sheet, light to medium grains in the range of roughly 0.05 to 0.15 mm depth transfer reliably on moderate draws. Deeper grains are possible but demand more draft and careful heating. The exact limit depends on the material and the draw ratio, so confirm the grain with a trial during thermoforming before cutting the production tool.
Does texture affect tool cost and lead time?
Yes. Etched or EDM textures add tool cost and typically extend tool build time, and deep grains need draft changes that affect the tool design itself. Against that, in-tool texture removes the per-part cost of paint or coating, so on volume parts it often pays back. For the mechanics of applying texture, see this guide on creating a textured finish on a vacuum formed part.
Can a clear part have texture on one face only?
Yes, and it is common. A PMMA or PC cover can keep a polished optical face while the back face carries a light texture that hides scratches and reduces visible fingerprints. The tool side gets the texture and the free side keeps sheet polish, so the part orientation in the tool decides which face gets which treatment.
How is finish checked at incoming inspection?
Against a retained master sample, plus measurable values where the drawing calls for them: gloss units on flat areas for textured parts, and total luminous transmittance for clear parts. Appearance-only criteria without a master or a number are the most common reason finish disputes cannot be closed. A structured overview of the options is available in this vacuum formed part finish guide.
To keep exploring how sheet, tooling, and finishing choices interact on formed parts, explore the ZetarVac vacuum forming guide, or see how a heavy gauge vacuum forming manufacturer approaches finish specification from tool design through trimming.
-
Mold texture: the intentional surface pattern applied to a forming tool by chemical etching, EDM, or casting, which transfers to the sheet surface during forming. ↩
-
HDT: heat deflection temperature, the temperature at which a plastic specimen deflects a defined amount under flexural load, used to set safe curing and use temperatures. ↩
-
UL 94: the standard flammability classification for plastic materials, grading resins by burning behavior under controlled laboratory conditions. ↩
-
Total luminous transmittance: the percentage of visible light that passes through a transparent material, measured for clear plastics under ISO 13468. ↩