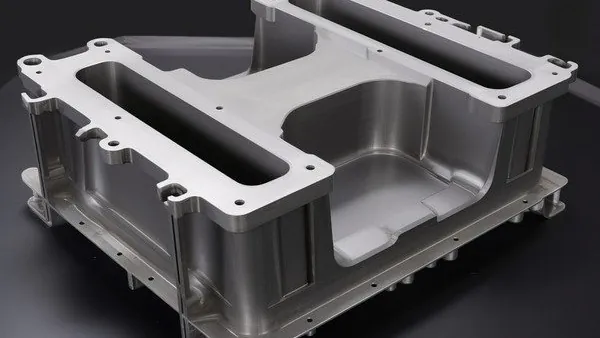
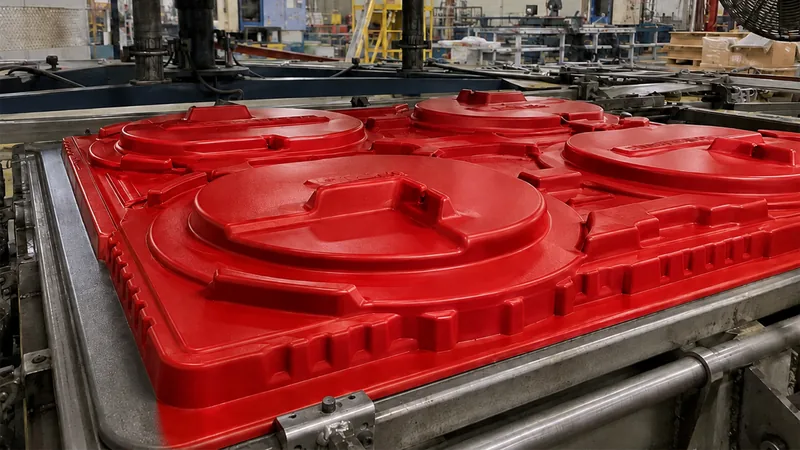
A textured finish on a vacuum formed part is engineered into the tool, the sheet, or the process window before the first sheet is ever heated — not bolted on as a cosmetic step at the end of the line. Done well, texture hides handling marks, cuts glare, and makes an enclosure read as a finished product. Done poorly, it leaves shiny peaks, washed-out pattern, and a glossy ring where trimming cut through the grain. This guide covers the four practical ways to build texture in heavy-gauge thermoforming, the parameters that control how faithfully it transfers, and how to inspect the result before production.
- Texture on vacuum formed parts comes from four sources: engraved mold grain, cast tool texture, pre-textured sheet, and applied coatings.
- Molded-in texture is the most durable option because the pattern is part of the formed wall, not a layer sitting on top of it.
- Grain depth must match sheet gauge and draw depth; thin sheet cannot fill deep grains and leaves shiny, unfilled peaks.
- Sheet temperature, vacuum rate, and cooling uniformity decide how sharply the pattern transfers from tool to part.
- Texture should extend past the trim line, because trimming that follows the forming tool will otherwise expose a glossy untextured edge.
- Approve texture against grain master plates, gloss readings, and fixed lighting conditions — not ad-hoc visual checks.
What Are the Ways to Create a Textured Finish on a Vacuum Formed Part?
There are four practical routes: engraving or casting grain1 into the forming tool, forming against pre-textured sheet, laminating a decorative film to the sheet before forming, and spray-applying texture after trimming. In heavy-gauge thermoforming, molded-in texture from the tool or the sheet is the default for durable parts, because the pattern is part of the formed wall itself. Applied coatings are best reserved for prototypes, refurbishment, and very low volumes.
| Method | Where the texture comes from | Typical look | Best suited to | Main watch-outs |
|---|---|---|---|---|
| Engraved mold grain (chemical etch or mechanical) | Tool surface, transferred every cycle | Consistent fine-to-medium grain | Production housings, trays, covers | Deep etch needs thicker sheet and extra draft |
| Cast aluminum tool texture | Texture cast into the mold face | Organic, leather-like patterns | Large panels, aesthetic enclosures | Less crisp than etched grain on fine patterns |
| Pre-textured sheet | Factory-embossed sheet surface | Uniform from part one | Fast starts, no tool texturing budget | Grain fades on deep draws; limited pattern choice |
| Applied spray texture | Coating added after trimming | Variable, operator-dependent | Prototypes, repairs, very low volumes | Chips and wears; adds per-part cost and handling |
For any part made in volume, settle the texture decision at the tooling stage. Mold texture is a one-time tooling choice that then repeats identically for the life of the tool, which makes it the most economical route across thousands of cycles. Sheet texture moves the decision upstream to material selection and trades pattern freedom for convenience. Spray texture is the only route that can be changed after parts exist, which is precisely why it is the weakest on durability.
Most industrial enclosures combine routes rather than relying on one. A typical equipment housing might carry a molded-in body grain, a smooth zone for a label field, and painted accents on non-wear surfaces. When you are ready to compare the options in detail, the guide to choosing the right finish for a vacuum formed part maps each finish route against cost and application.
How Does Mold Grain Transfer to the Formed Surface?
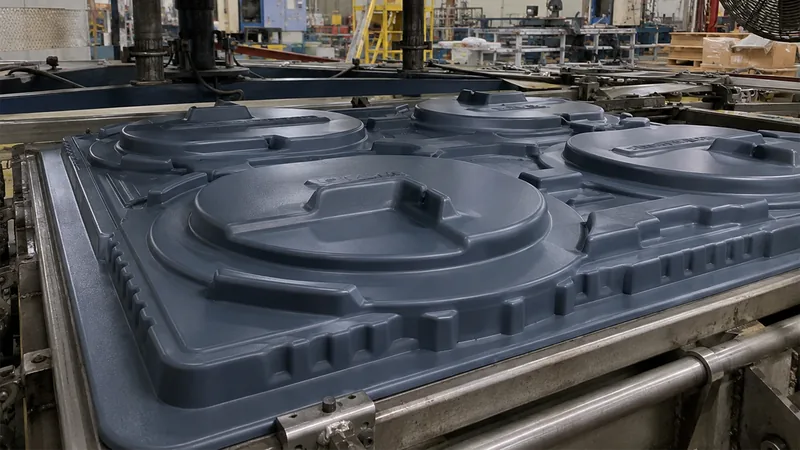
In vacuum forming, the heated sheet is drawn against the tool by vacuum, and grain transfers only where the softened material makes full contact under enough pressure. Contact pressure falls as draw depth increases, which is why texture is always crisper on the base and lower sidewalls of a deep part than near the top of a tall draw.
Draft matters as well: a workable starting rule is roughly one degree of additional draft for every 0.03 mm of etch depth2, tuned for material shrinkage and draw depth. Texture also changes how the part releases from the tool, and it interacts with the geometry limits described in the guide to creating undercuts in a vacuum formed part.
Sheet gauge sets the ceiling on grain depth. Deep, coarse patterns need displaced material to fill them, so 3–6 mm ABS carries medium grains comfortably while 1–2 mm sheet is realistically limited to fine textures. The reverse failure exists too: an extremely fine grain on heavy-gauge sheet can look under-defined, because the material fills easily but the pattern needs sharp tool edges to read at all.
ZetarVac processes sheet from 0.5 to 15 mm on 20+ vacuum forming machines, with forming lengths up to about 2,500 mm. For texture work, that gauge span matters more than machine count: a grain that transfers cleanly on 6 mm ABS will wash out on 1.5 mm HDPE, so grain depth should be selected against the actual sheet gauge and draw depth of the project, not against a catalog photo.
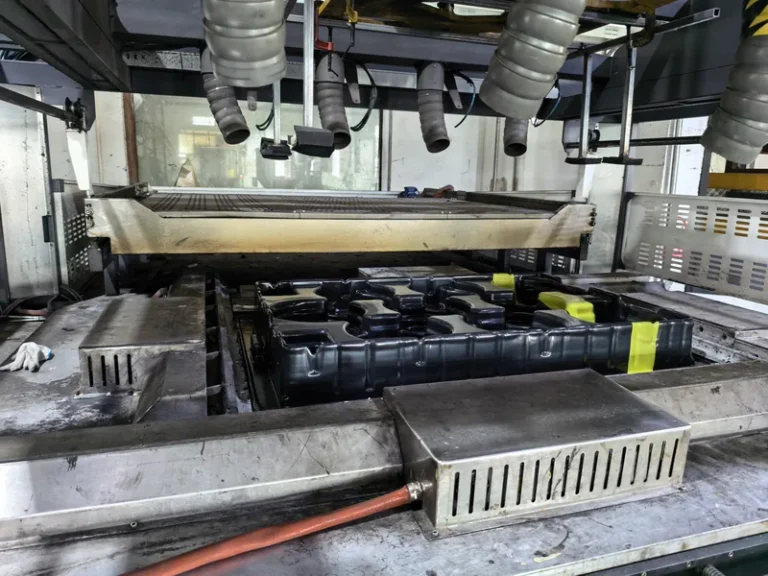
Tooling position decides which side of the part gets the pattern. On female tooling, grain engraved into the cavity surface lands on the outside of the part, which is what most housings and covers need. On male tooling, the tool texture faces the inside wall, so an outer cosmetic texture has to come from the sheet or a laminated film instead. A textured male tool also grips the sheet as it cools, which helps dimensional stability but can trap air on deep plugs if venting is poor.
When Should You Choose Pre-Textured Sheet Instead?
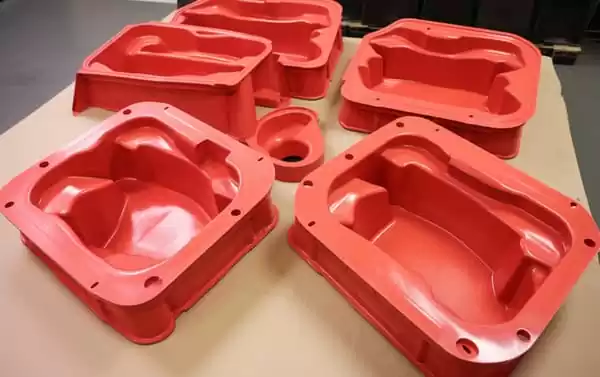
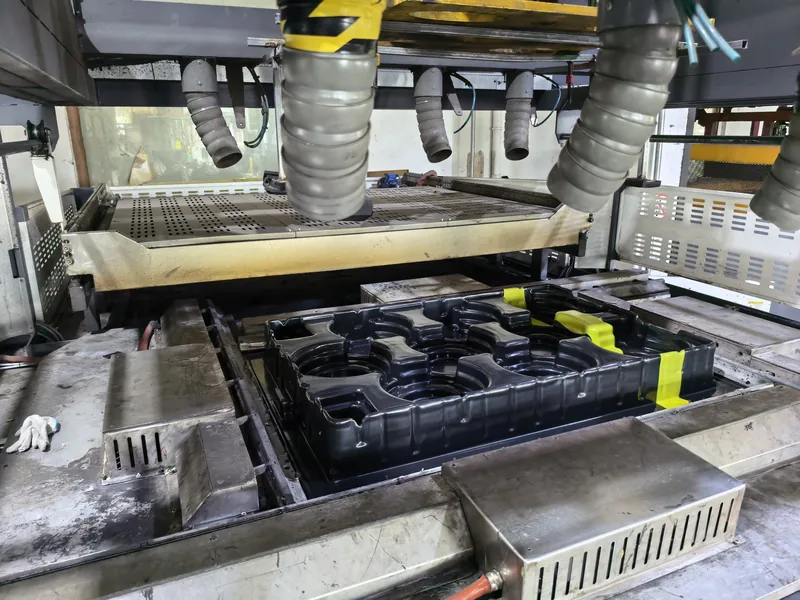
Pre-embossed sheet carries a factory texture on one face. Formed against a smooth female tool with the textured face outward, the part leaves the machine with its cosmetic surface already finished. The appeal is speed and certainty: the texture is correct from the first article, there is no etching cost or pattern approval step on the tool, and the tool itself stays smooth and easy to rework.
The trade-off is control. The texture stretches and thins wherever the sheet draws deeply, so grain fade appears on corners and tall sidewalls, and the pattern library is limited to what sheet mills offer. Handling matters too: an embossed face scratches easily and can flatten under careless stacking before forming ever starts.
"Spray texture is the cheapest way to get a durable textured finish."False
Paint sits on top of the formed wall, so it chips at trimmed edges, wears under cleaning, and needs rework across the life of the part. The per-part cost also keeps rising with volume, while a molded-in pattern was already paid for in the tooling.
"Molded-in texture from the tool or the sheet is the durable default."True
Because the pattern is formed into the wall itself, there is no coating layer to chip, peel, or fade. The texture survives abrasion, washing, and outdoor exposure exactly as well as the base material does.
For deep-draw parts where grain fade is a real risk, a common compromise is engraved grain on the tool for high-visibility faces combined with textured sheet on less critical areas. That splits the pattern across two sources but keeps the cosmetic surface consistent where it matters most.
Which Process Parameters Control Texture Quality?
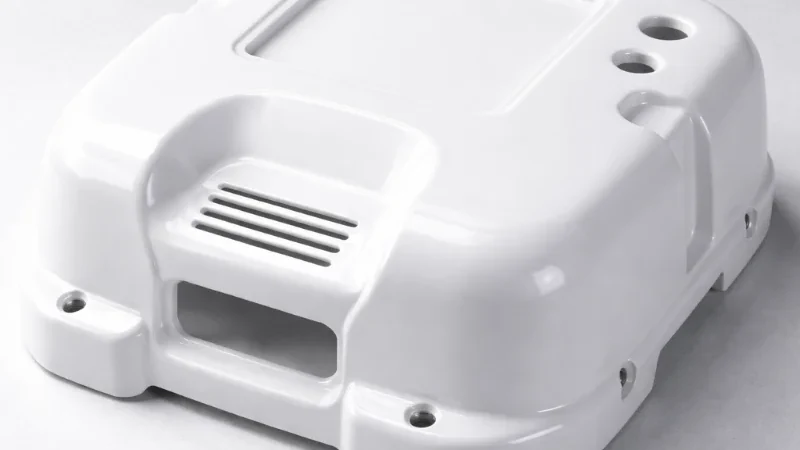
Sheet temperature is the first lever. Underheated material stiffens before it reaches the grain and leaves shallow, shiny transfer; overheated material marks, sags, and can emboss sheet-level imperfections straight into the cosmetic face. Broad engineering windows — for example, roughly 130–170 °C for ABS and noticeably higher for PC, depending on grade and machine — are starting points that the moulder tunes with trial formings rather than fixed recipe numbers.
Vacuum application is the second lever. A fast, high-volume pull drives the softened sheet into the grain before it cools, and detail sharpness drops quickly when the pull is slow or the vacuum path is restricted. Where grain sharpness on vertical walls is critical, pressure forming — which applies air pressure above the sheet in addition to vacuum — can push material into fine patterns that vacuum alone cannot fill.
Cooling uniformity is the third. Uneven mold temperature shows up as gloss variation across the same grain, which reads as a defect even though the pattern itself is correct. Consistent cooling across both textured and untextured zones keeps the contrast between them deliberate rather than accidental.
"Once the first textured part is approved, the pattern is locked in for the whole run."False
Texture transfer depends on sheet temperature, vacuum response, and cooling, all of which drift between cycles and sheet batches. A grain approved under one set of conditions can read visibly flatter later, producing gloss variation and rejected housings.
"Textured forming needs the same process discipline as dimensional tolerances."True
Lock the heating profile, vacuum ramp, and cooling routine when the grain is approved, then re-check gloss and grain definition at defined intervals. Stable texture is a process window, not a one-time sample.
None of these levers acts alone. A grain that fills perfectly at one heating setting can wash out after a heater element is replaced or a vacuum valve wears, which is why texture approval and process approval should happen together, on the machine settings that will actually run production.
Material choice changes how texture reads. In the plant’s material library, ABS and PVC hold fine grain sharply, PP gives a slightly softer definition, and PC or PMMA sheets combine texture with transparency for covers and display parts. The same etch depth will not look identical across these materials, so approve the grain on the production material, not on a substitute.
How Do You Inspect and Approve a Textured Finish?
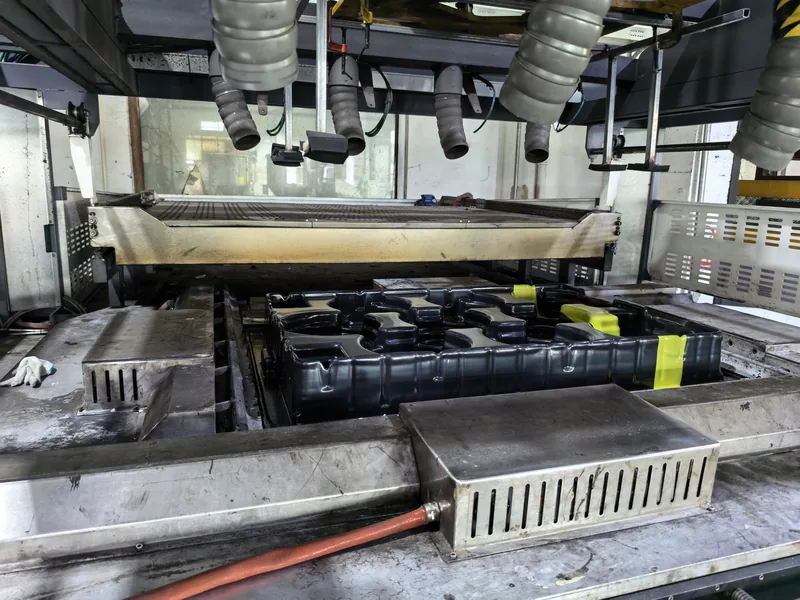
Define acceptance before the first production sheet is heated. Reference the grain by master plate, pattern code, and depth, and record gloss meter readings in gloss units3 at a fixed angle on agreed zones of the part. Inspect under fixed light-booth conditions, because a textured surface changes appearance dramatically with light angle. Agree in advance where grain fade is acceptable — deep draws and corners — and where it is not.
On clear textured parts, texture is a light-scattering feature rather than a purely cosmetic one. A fine frost grain on a PC or PMMA cover diffuses LEDs and hides internal components, but the same grain kills clarity. ISO 13468 — the standard that specifies the method for measuring the total luminous transmittance of transparent plastics — gives both sides an objective number for how much light a textured formed panel still passes, turning a subjective too-hazy argument into a measurable acceptance criterion4.
Industry references such as the SPE Thermoforming Division collect guidance on tool texturing and surface evaluation that is widely used across heavy-gauge thermoforming programs, and they are a useful neutral benchmark when buyer and moulder disagree on appearance.
ZetarVac trims formed parts on a 5-axis CNC trimming centre, and the trimmed outline follows the forming tool. That is exactly why texture should extend past the intended trim line: if the grain stops short, every trimmed edge exposes a ring of glossy, untextured material that no post-process can cheaply hide.
FAQ
Does a textured finish hide surface defects?
It hides light scuffs, fingerprints, gloss variation, and faint flow marks, which is why most equipment housings specify at least a fine grain on visible faces. It does not hide structural defects: thin corners, webbing, blistering, and vacuum marks stay visible and often become more obvious under raking light. Treat texture as a cosmetic upgrade, not a repair for forming problems.
Does adding mold grain extend tooling lead time?
Yes, modestly. Etching happens after the tool has been CNC machined and requires a pattern approval step, so a textured tool takes longer to deliver than a smooth one. The practical mitigation is to decide the grain at design review, while etch zones and trim lines can still be drawn into the tool file, rather than after the tool has been cut.
Can you texture only part of a formed part?
Yes. With engraved grain, masking during etching defines exactly which zones carry the pattern and where the transition line falls, so label fields, logo areas, and handling zones can stay smooth. Pre-textured sheet is all-or-nothing on that face, which is one reason partial texture usually pushes the decision back to the tool.
Which materials hold texture best in heavy-gauge thermoforming?
ABS and PVC hold fine grain sharply and are the workhorses for textured housings, trays, and enclosures. PP forms well but reads slightly softer, PC and PMMA pair texture with transparency for guards and display covers, and soft TPE or TPV parts take on a matte, compliant character. Whatever the material, approve the appearance on the production resin and gauge.
Where can you read more about vacuum forming finishes and tooling?
To keep digging into how texture, material, and tooling choices interact, explore the ZetarVac vacuum forming guide, which walks through the heavy-gauge thermoforming process, materials, and finishing options in depth. For a supplier-level view of how textured enclosure and tray projects are structured, learn how a China vacuum forming manufacturer approaches tooling, materials, and production scale.
-
Grain: the engineered surface pattern engraved, etched, or cast into a forming tool, specified by pattern code and depth. ↩
-
Etch depth: the depth of a chemically etched texture on a tool surface, usually quoted in hundredths of a millimetre or thousandths of an inch. ↩
-
Gloss units (GU): the scale used by gloss meters to quantify surface shininess, read at a fixed geometry such as 60°. ↩
-
ISO 13468: the standard specifying the measurement of total luminous transmittance of transparent plastics, used to quantify how much light a clear formed part passes. ↩