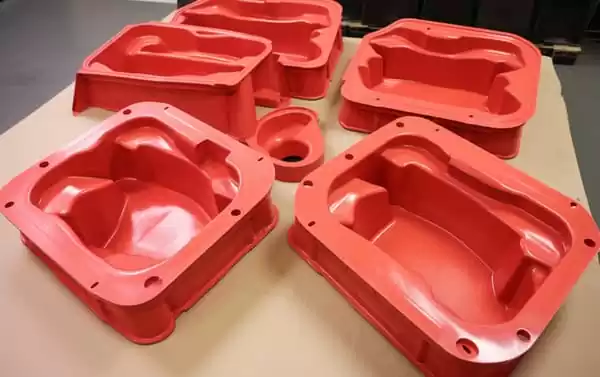
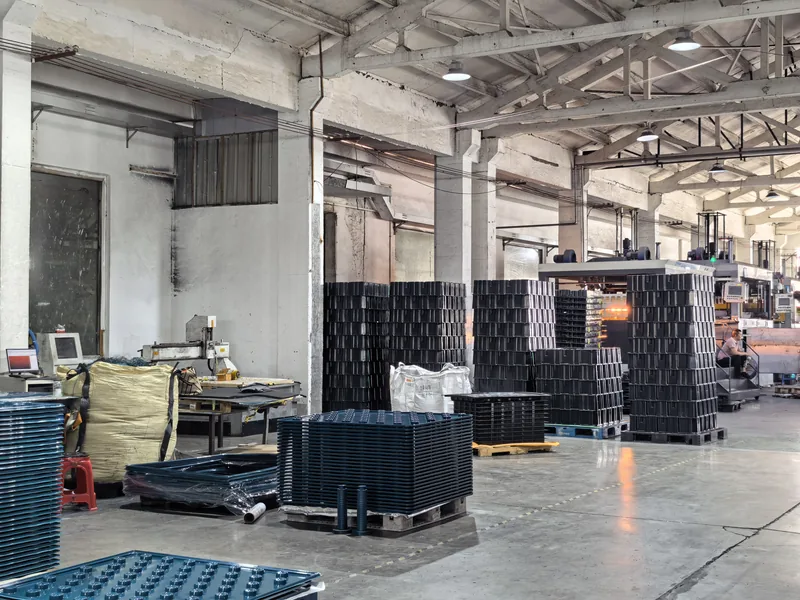
Bubbles are among the most frequent defects in heavy-gauge vacuum forming. They appear as scattered pinholes, clustered blisters or a hazy line of voids along a deep draw, and a bubbled sheet cannot be repaired — the part is scrap. The useful fact for engineers and buyers is that bubble formation is not random. It comes from three identifiable mechanisms: absorbed moisture in the sheet, air trapped between sheet and mold, and thermal degradation from overheating. Each mechanism has a known cause, a process window that prevents it and a specific inspection method. This guide walks through all three, with the settings, checks and acceptance criteria that keep a vacuum forming run clean from prototype to volume production.
- Most bubbles in thermoformed parts come from moisture inside the sheet, not from heater settings; drying time must scale with sheet thickness.
- Trapped air is a venting and vacuum-flow problem. It is fixed with hole placement, reservoir volume and clamp sealing, not with more heat.
- Degradation bubbles are identified by discoloration and appear on the heater-facing surface first.
- Clear materials such as PC and PMMA reveal bubbles that opaque sheet can hide, so the inspection method must match the material.
- A bubble-free first article does not prove stability: dried sheet reabsorbs moisture within hours, so moisture and heater checks belong in every batch record.
Why Bubbles Form in Vacuum Formed Parts
Moisture bubbles are the classic failure on hygroscopic sheet in heavy-gauge thermoforming. Materials such as ABS, PC, PMMA and PA absorb water from ambient air into the wall of the sheet1. When the sheet is heated past the boiling point of water, that moisture flashes to steam and blows small, gas-filled voids through the wall. The signature is scatter: many small bubbles at random positions, often on both wall faces, with no preference for deep or shallow areas of the part.
Trapped-air bubbles behave differently. If the sheet bridges over a deep pocket or a sharp female corner, the air cushion between sheet and tool cannot escape fast enough, and the sheet freezes off while still floating above the mold surface. The result is one large, smooth-domed internal void exactly where the draw is deepest. Degradation bubbles are the third case: sheet held too long or too hot beyond its processing window releases gas from polymer breakdown, usually with yellowing or browning on the heater-facing side. Contamination — release agent residue, dust, or water condensation on cold sheet — produces isolated single voids instead.
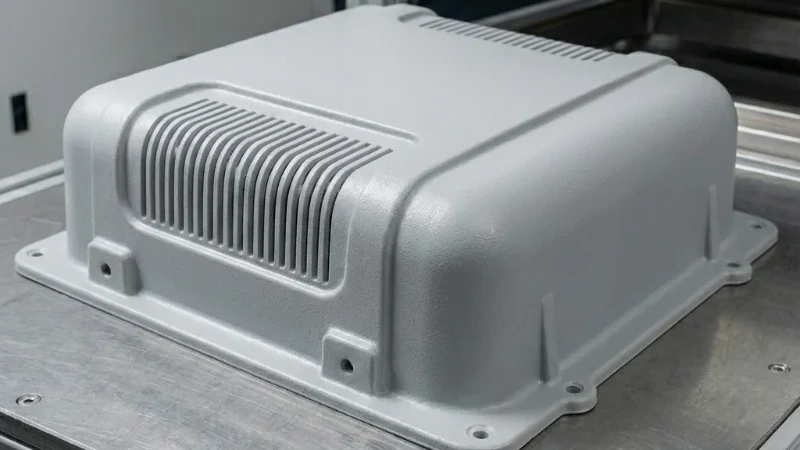
Diagnosis starts with the bubble signature, because the corrective actions do not overlap. Drying fixes moisture, venting fixes trapped air, and heater control fixes degradation — running temperature trials against a moisture problem wastes shifts. The table below is the quick reference most production teams need.
| Bubble signature | Root cause | Typical location | First corrective action | Verification method |
|---|---|---|---|---|
| Small, scattered, through-wall pinholes | Absorbed moisture | Random, both faces | Re-dry the sheet; extend time for gauge | Moisture measurement before loading |
| Large, smooth-domed voids | Trapped air | Deep pockets, female corners | Add vents at the draw; check seal and reservoir | Sheet seats fully during vacuum drop |
| Blisters with yellowing or browning | Thermal degradation | Heater-facing surface | Lower zone setpoints; shorten heat time | Surface temperature logging |
| Isolated single voids | Contamination | Random | Clean and cover stored sheet | Incoming sheet inspection |
How Do You Dry Sheet Before Thermoforming to Prevent Moisture Bubbles?
Dry hygroscopic sheet in a circulating-air or dehumidifying oven before it goes anywhere near the heater. The drying temperature and time depend on the material and the gauge, so the starting recipe comes from the material supplier datasheet and is confirmed on your own oven; the acceptance check is a moisture measurement on the sheet just before loading, not a fixed clock time.
Two rules make drying predictable. First, time scales with thickness: water diffuses out from the core of the sheet, so a 10 mm panel needs several times the exposure of a 2 mm sheet at the same temperature. This is why recipes that work on thin stock fail when reused on heavy-gauge work. Second, dried sheet is a perishable material. Once it leaves the oven or the sealed bag, it starts reabsorbing ambient moisture immediately, and a few hours in a humid plant can undo a full drying cycle. Schedule the oven so dried sheet moves to the former within its open-time window, or plan a re-dry.
Non-hygroscopic sheet such as HDPE and PP does not absorb water into the wall, but condensation on sheet moved from a cold warehouse into a warm plant can still cause surface marks, so let it stabilize to room temperature before forming.
ZetarVac processes sheet from 0.5 to 15 mm with forming lengths up to about 2,500 mm. Across that heavy-gauge range, drying time — not heater output — is usually the constraint on thick stock, which is why drying schedules are qualified per material and per gauge.
On thick PC and PMMA jobs, many teams validate a new drying recipe against a scrap-sheet trial: form one sheet, backlight it, and count bubbles before committing production stock. Practical guidance on heating and drying practice is also published by the SPE Thermoforming Division, which maintains process references for the industry.
"Bubbles always mean the heater was set too high."False
Moisture is the most common cause of bubbles, and it produces defects even at correct heater settings. Blaming temperature first sends teams into long heater trials while the wet sheet keeps making scrap.
"Drying time must scale with sheet thickness."True
Water has to diffuse out from the sheet core, so a 10 mm panel needs far longer than a 2 mm sheet at the same oven temperature. Reusing thin-sheet recipes on heavy-gauge stock is a reliable way to reintroduce moisture bubbles.
Why Do Bubbles Still Appear on Deep Draws?
Deep-draw bubbles are usually trapped air, not moisture. When the sheet bridges over a pocket or female corner, air between sheet and tool escapes too slowly through a sparse vent pattern, and the sheet freezes off before it seats — leaving a smooth internal void exactly where the draw is deepest.
Fixing trapped air is a vacuum-system job with three levers. Vent placement comes first: holes in the 0.5–1.5 mm diameter range are small enough to leave no witness mark on most surfaces, and the pattern should be densest — typically 20–40 mm spacing — in corners, pockets and the last areas to seat, not spread uniformly.
Vacuum flow comes second: the holes are only the last centimetre of the path, and a mold that evacuates in under about one second needs adequate pump capacity, an accumulator sized to the mold volume and a fast valve, so peak flow arrives at the moment of drop. Sheet sealing comes third: a leaking clamp frame or gasket lets the pump chase ambient air instead of pulling the sheet down.
Mold temperature helps as well. Running the tool in the roughly 40–80 °C range keeps the sheet mobile until it seats, and a plug assist can push material into deep pockets ahead of the vacuum, shortening the unsupported span where air gets trapped.
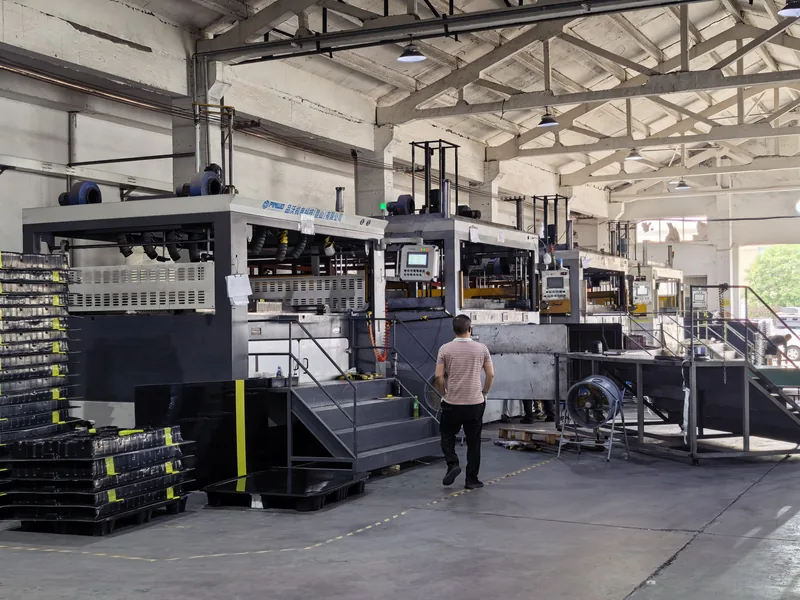
ZetarVac runs 20+ vacuum forming and thermoforming machines in-house, so vent layouts, reservoir sizing and heater recipes qualified on one machine are documented and repeated across the fleet instead of being rediscovered run by run.
For deep draws on cosmetic surfaces, note that hole placement is a compromise: more vents improve seating but each one risks a witness mark, so engineers concentrate vents in areas that are later trimmed or textured. Options for post-forming texture are covered in our guide to creating a textured finish on a vacuum formed part.
"Adding more vacuum holes everywhere removes trapped air."False
An indiscriminate hole pattern leaves witness marks on cosmetic surfaces and cannot fix air pockets caused by bridging or a leaking clamp seal. Vent placement has to follow the draw geometry, concentrated where the sheet seats last.
"Vacuum flow depends on pump capacity and reservoir volume."True
The holes are only the last centimetre of the vacuum path. If pump capacity, accumulator volume and valve speed cannot evacuate the mold within about a second, the sheet cools and freezes off before it seats, regardless of hole count.
Heater Zones and Forming Temperature Windows
Degradation bubbles are prevented by keeping the sheet surface inside its processing window rather than chasing maximum sag. Typical sheet-surface ranges used in the industry are roughly 130–170 °C for ABS, 160–190 °C for PC and 140–170 °C for PMMA, depending on gauge, machine and heater type — these are engineering starting points, not datasheet values. Zoned top and bottom heaters matter on wide sheets: a single oven temperature over-forms the edges while the centre reaches target, and the over-heated zones are exactly where degradation blisters appear.
Two reference temperatures bracket the window. The Vicat softening point2 marks where a material starts to soften under load, and practical forming happens above it; the heat deflection temperature3 marks where a finished part loses stiffness under flexural load in service. Forming well inside the window between them — verified with an infrared pyrometer on the sheet surface, not by heater dial settings alone — keeps material properties intact and keeps bubbles out.
Discoloration is the early warning. Clear PC that starts to amber, or ABS that greys on the heater face, is forming bubbles in the next cycle even if the current sheet looks clean. Log surface temperature per zone and per material; when a new sheet lot bubbles, compare the log against the qualified window before changing anything.
How Should Formed Parts Be Inspected for Bubbles?
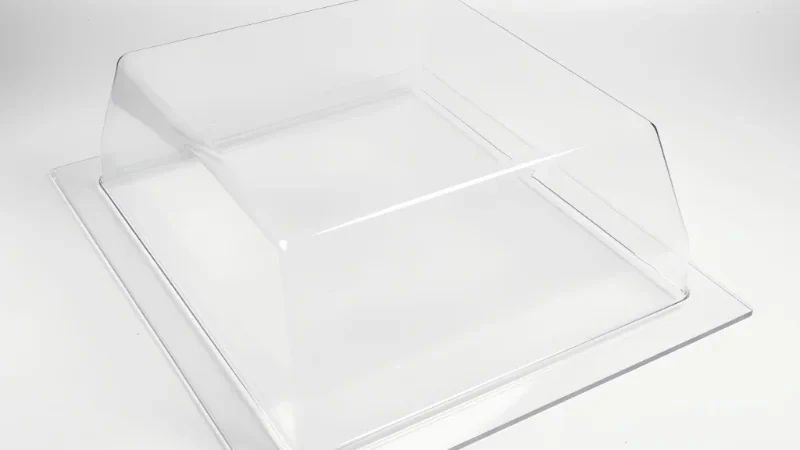
Inspect with a method matched to the material: transmitted backlighting for clear PC and PMMA, raking light plus a fingernail trace for opaque sheet, and cross-section cuts at suspect areas for subsurface voids. Bubble acceptance limits — maximum size, count per area and allowed locations — belong in the control plan before production starts.
Visual inspection alone is not enough for structural parts. ISO 527-2, the standard tensile test method for plastics, specifies the specimen geometry, conditioning and test speed used to confirm that wall material cut from a formed part still meets the datasheet strength — this is how subsurface voids that survive a visual check get caught on qualified parts. For equipment housings and covers, wall stock is also expected to support the required UL 944 flammability classification, and internal voids complicate that evidence, which is why enclosure programs typically set tighter bubble limits than cosmetic trays.
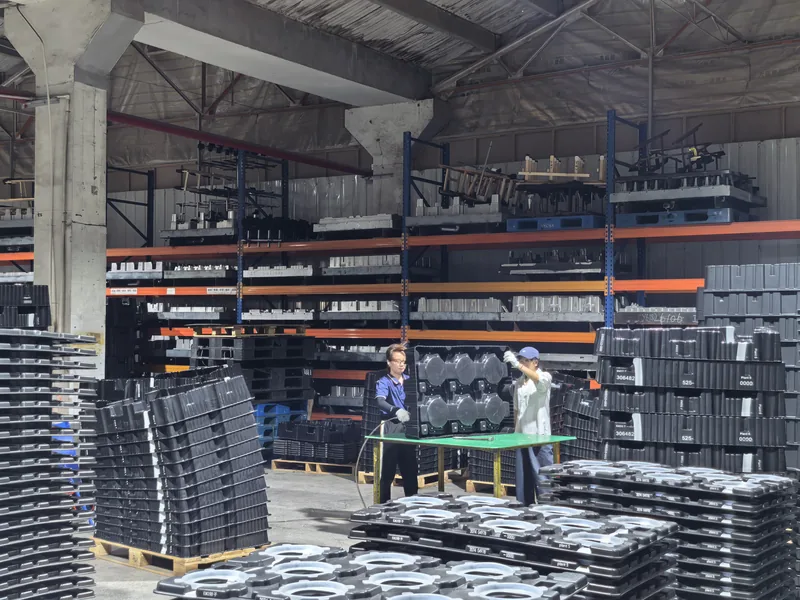
Sampling should be per lot, not per project. A new sheet lot, a change of season or a machine change each justify a re-check, because all three move the moisture and heating conditions that generate bubbles.
Keeping a Vacuum Forming Run Bubble-Free in Production
Stability comes from turning the fixes above into standing checks:
- Record the drying schedule (material, gauge, temperature, time) and the moisture measurement taken just before loading.
- Log heater-zone setpoints and sheet surface temperature for every material recipe.
- Verify evacuation time and clamp seal condition on a fixed maintenance interval; check vacuum pump oil and filters.
- Limit dried-sheet open time on the floor; re-dry sheet that exceeds its window.
- Check first articles plus a defined per-lot sample with the inspection method matched to the material.
ZetarVac supports prototyping, small batch and large batch production with reference monthly capacity of about 100,000–200,000 pieces across 45+ production lines. At that volume, drying records and heater logs are what keep bubble rates flat between shifts and sheet lots.
Two habits keep these checks alive past the launch phase: review the records at every sheet-lot change, and re-qualify the window whenever a machine, heater or material changes. Both cost minutes; either one can save a full shift of scrap.
"A bubble-free first article proves the process is stable."False
First articles are made from carefully dried, hand-picked sheet under close supervision. Production adds new sheet lots, humidity swings and operator changes, so bubble control has to be verified per batch, not once at sign-off.
"Dried sheet reabsorbs moisture within hours."True
Exposed hygroscopic sheet picks up ambient moisture almost immediately, and a few humid hours can undo a full drying cycle. Sheet should move from oven or sealed bag to the former inside its open-time window, or be re-dried on schedule.
FAQ About Bubbles in Vacuum Formed Parts
Can a bubbled vacuum formed part be repaired?
No. A void is a structural defect in the wall, and filling, heating or flame-polishing it only hides the symptom while leaving the weakened wall in place. The correct action is to scrap the part and correct the sheet condition or process window that produced it.
Why do bubbles only appear after trimming, painting or finishing?
Subsurface voids sit below the surface and open up when a trimming or machining cut passes through them. Coatings are not a fix either: a film laid over a void does not remove it, which is why choosing the right finish for a vacuum formed part should follow, not replace, a defect-free forming surface. Surface treatment options are compared in our thermoforming surface finishing guide.
Does thicker sheet bubble more than thin sheet?
Yes, for moisture. Water must diffuse out from the core, so drying time climbs steeply with gauge, and thick sheet holds more total moisture per area. Trapped-air and degradation mechanisms are less gauge-dependent, which makes a thick-sheet bubble problem a strong hint to check the drying record first.
Is the sheet supplier always at fault for bubbles?
No. Sheet lots do vary in moisture content and some arrive pre-dried and sealed, but most bubble problems trace to storage, drying, heating and venting on the forming side. Incoming inspection plus a moisture check before loading separates supplier issues from process issues quickly.
How quickly does dried sheet reabsorb moisture?
Within hours in a humid plant, though the exact rate depends on material, gauge, ambient temperature and relative humidity. This is why open-time limits belong in the process sheet rather than in a general rule: PC sheet in a monsoon-season plant and ABS sheet in a dry winter workshop are different problems.
To keep going deeper on this topic, explore our vacuum forming process overview, or see how a heavy-gauge vacuum forming manufacturer in China structures drying, forming and inspection from prototype through volume production.
-
Hygroscopic: describes plastics such as ABS, PC, PMMA and PA that absorb moisture from ambient air into their bulk and therefore require drying before thermoforming. ↩
-
Vicat softening temperature (ISO 306): the temperature at which a flat-ended needle penetrates a plastic specimen a specified depth under load, indicating the onset of softening. ↩
-
HDT (ISO 75-2): heat deflection temperature, the temperature at which a standard plastic beam deflects a defined amount under flexural load. ↩
-
UL 94: the standard flammability classification for plastic materials, commonly required for electrical equipment enclosures and covers. ↩