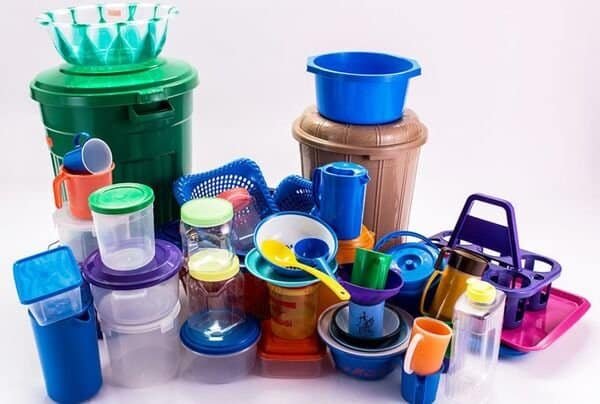
Thermoforming is often used for the molding and production of plastics. If plastics are to be formed, molds are an indispensable basis. Only molds can be used to produce thermoformed products. If the molds are not made well, it means that the thermoformed products will be produced later. None of them meet the customer's requirements. Molds are divided into plaster molds, wooden molds, metal mold, aluminum molds and electroplated copper molds. According to the type, it can be divided into positive mold and negative mold.
Among them, the plaster mold has low production cost, low hardness, strong plasticity, easy modification, and its process is relatively simple and fast. However, its accuracy is not high enough, the surface is not smooth, it is fragile and not durable, so it is often used for proofing, making electroplating copper molds or some vacuum forming molds with low requirements for small batch production.
The Production Process of Vacuum Forming Process
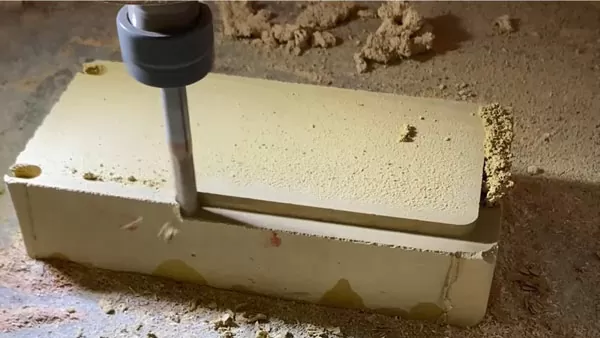
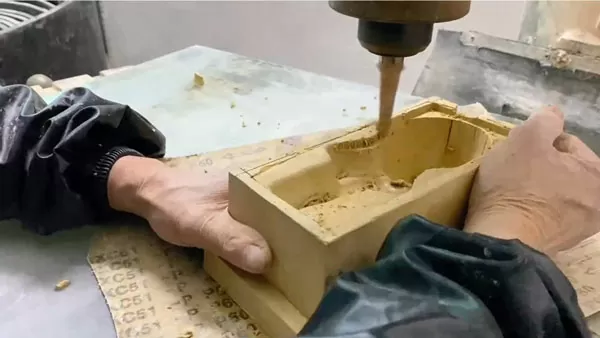
Mold making and processing. According to the requirements or sample specifications, first make the vacuum forming mold, let it dry completely naturally or in the oven, and then use 1-2 mm drill vacuum holes to drill into the low recesses that will not affect the packaging appearance of the product according to the specific convex and concave conditions of the product surface. Drill many small holes. After the holes are drilled in the mold, the plaster mold must be hardened. The hardening method is to soak it in a concentrated alum saturated solution and then dry it.
After the mold is completely processed and dried, the mold is placed on the upper iron plate of the vacuum chamber, and then the thermoplastic sheet is loaded into the applicable specifications according to the size of the mold, and then the sheet is placed in the heated wooden cabinet to completely fix it. Place the wooden cabinets and plastic sheets on a thermostatic oven to soften them.

Place the softened plastic sheet together with the wooden cabinet in the vacuum chamber, open the vacuum forming machine, turn on the suction switch, and suck out the air in the vacuum chamber. After the plastic sheet cools, you will get a concave packaging or process mold that is the same as the mold.
Thermoforming processing and packaging finishing. The finished product is obtained by trimming and trimming the excess plastic from the produced product, which can be sold after packaging.
Steps of Thermoforming Mold Design
Determine the Number of Cavities
Mold designers must strictly plan based on the specifications of the injection machine, the precise dimensional requirements of thermoformed products, and economy. The selection of parting surfaces is an important link in determining the layout of the mold. The use requirements of plastic parts, molding requirements, and The principles for determining the parting surface are important basis for planning the parting surface. The style of the parting surface design needs to be as simple as possible. At the same time, the location and style of the gate need to be considered. It should be placed in a location without grooves.
Determine the Pouring System
The gates and runners in the system are the focus of the plan. When determining the gates and runners, whether the plan is reasonable will have a decisive impact on the quality and production of thermoformed products.
Determine the Method of Demoulding
First of all, it is necessary to make sure that the thermoformed product is still being demoulded on one side of the movable mold when demoulding from the fixed mold. The choice of which method to use depends on many factors such as the style and material of the thermoformed product and the traces left by the ejection device. Under normal circumstances, the most commonly used is to use a push rod. When there is a relatively high boss in the plastic product, a push tube needs to be used to push it out. If you want to use the entire periphery of the thermoformed product to push it out, you need to use a pusher plate to push it out.
Determination of Temperature Control Form
The purpose of temperature control is to improve the molding performance and prevent deformation of the bottom, and shorten the molding cycle.
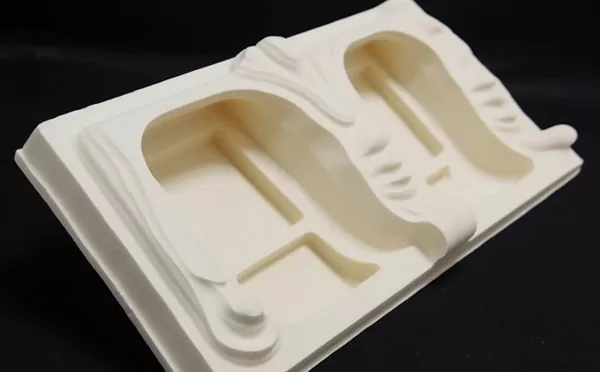
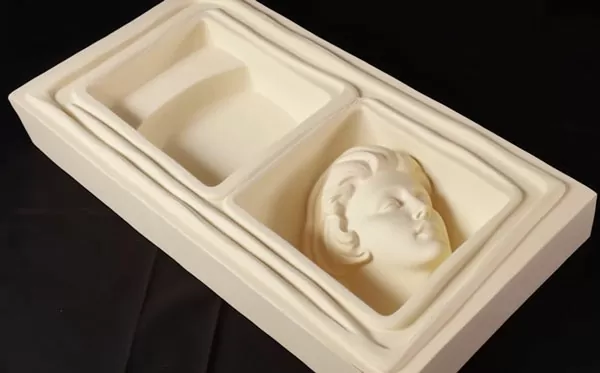
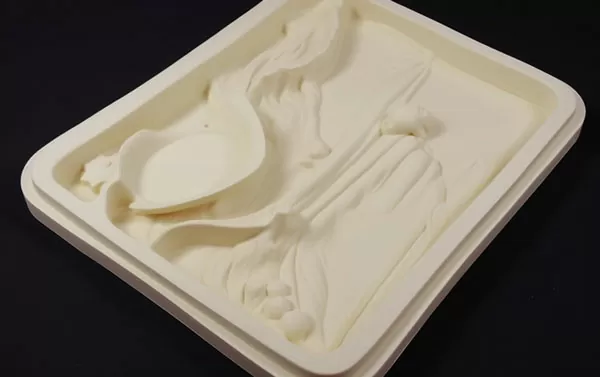
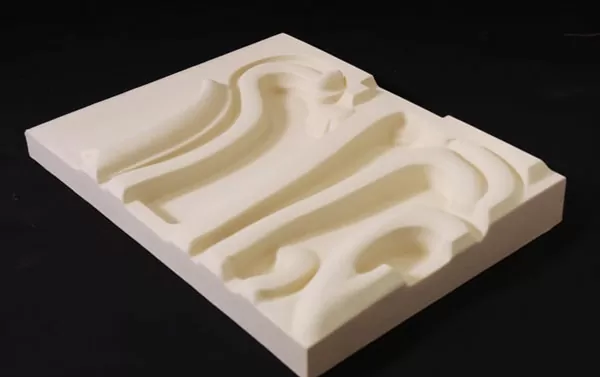
Plaster Mold Making Method
Generally speaking, thermoforming molds are mainly made by hand using plaster. Sometimes, in order to ensure good durability, a layer of copper is plated on the mold with a thickness of about 5 mm, so it can also be called an electric copper mold.
Prepare Materials
Molds, gypsum powder, water, clamps, bottom plates, plugs, stirring rods, basins or buckets. Before making, make sure the tools are complete and intact.
Before making a plaster mold, you need to prepare a prototype of the mold, which can be a sculpture, artwork, architectural decoration, etc. You also need some basic tools such as flat knives, brushes, measuring tools, rulers, pens, needles, threads, etc.
Fixed Mold
Put the matching mouth of the mold together and clamp it with a clamp (the clamp used must be strong), and then check whether the matching mouth is correct.
Mixing Pulp
Add half a bowl of clean water to the container, then add an appropriate amount of gypsum powder or cast phenolic (the ratio of water to gypsum powder is about 1:1.8), and then stir well so that there are no bubbles. If the gypsum powder solidifies quickly, add a slightly larger proportion of water; if the gypsum powder solidifies slowly, add a smaller proportion of water, which is flexible. (Note: Any gypsum powder must have strength after curing. Gypsum powder without strength cannot be used, and the time for stirring the gypsum powder should not be too long. Control it within half a minute, otherwise the gypsum powder will dry out in a short time.)
First Grouting
Pour the mixed gypsum slurry into the mold, quickly rotate the mold to make the gypsum slurry evenly cover the mold, and place the mold on a flat ground (if the gypsum slurry is not solidified in the mold, you can rotate the mold; if the gypsum slurry is not solidified in the mold, When it is initially solidified, the mold cannot be rotated, otherwise the poured plaster image will crack.
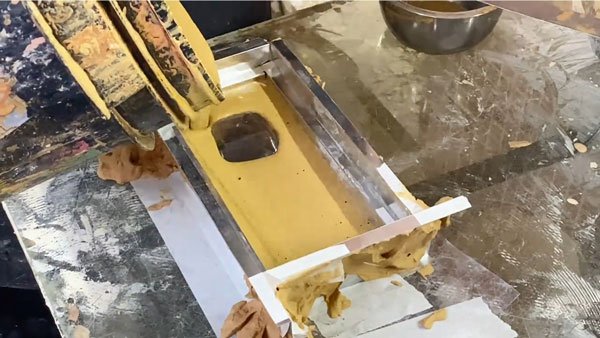
In addition, the thickness of the gypsum slurry poured into the mold for the first time must be appropriate. If the gypsum is too thick and the pressure will be too high, the mold will be deformed. The plaster statue will be deformed; if it is too thin, it will easily break and lead to production failure)
Second Grouting
After completing the first grouting, put the grouted mold aside for 3-5 minutes. After the first layer is dry, follow the second and third steps to grout the second time. After the gypsum slurry on the inner membrane has solidified, pour the second or third slurry. Before each layer, the previous layer of gypsum must be dry before proceeding to the next step (generally, only two sides can be filled. Note: Different qualities of gypsum powder Its solidification time is different)
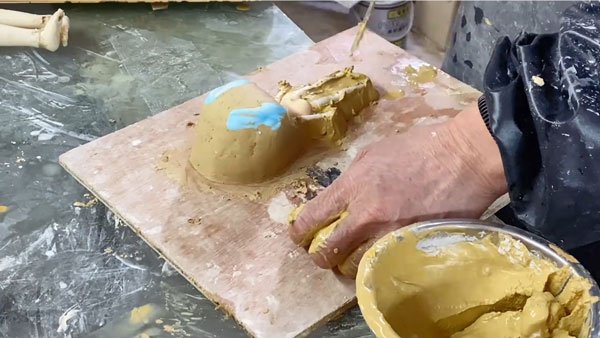
Back Cover
Pour the prepared gypsum slurry into the epoxy resin plaster statue product, then shake the plaster statue as shown in the picture, cover the bottom of the plaster statue with the back cover plate (the protruding part of the back cover plate faces into the mold), and then stand the plaster statue upright and move it back and forth.
Shake the plaster statue so that the plaster slurry inside the plaster statue fills every position at the bottom of the plaster statue. Finally, place the plaster statue on a flat place and trim off the excess plaster at the bottom of the plaster statue.
Demolding
After the plaster has solidified, place the plaster statue on a flat ground, first remove the clamps, and then slowly peel off the mold starting from the bottom with both hands. (When demoulding, you should slowly demould with your hands toward the inside of the mold. If there are complicated areas that are difficult to demould, remove the easy and easy areas first and finally remove the difficult areas (easy first and then the difficult ones, or you can pour an appropriate amount of boiling water on the surface of the mold. The mold becomes soft and then demoulded).
After removing the foam board at the bottom, use a knife to trim off the excess gypsum at the bottom. Use a utility knife to open the deposit opening and bottom plug opening in time (it is more difficult to open after the gypsum powder has finally set).
Repair
If there are air bubbles in the peeled gypsum product, you can use a brush dipped in water and gypsum powder to repair the air bubbles. Then use a knife to scrape off the excess plaster on the edge of the product.
Mold Maintenance
After each use, wash the mold clean and place it in a cool and dry place after drying. Do not expose the mold to the sun.
Advantages and Disadvantages of Plaster Thermoforming Molds
Advantages
Cost Savings
Plaster molds have the advantage of being cheap to make. Compared with other common mold-making materials, such as metal, silicone, etc., gypsum materials are relatively cheap, so they are very suitable for making small batches of molds. In addition, plaster molds are simple to make, unlike metal molds that require complicated processes such as processing and heating. They only need to mix gypsum powder and water.
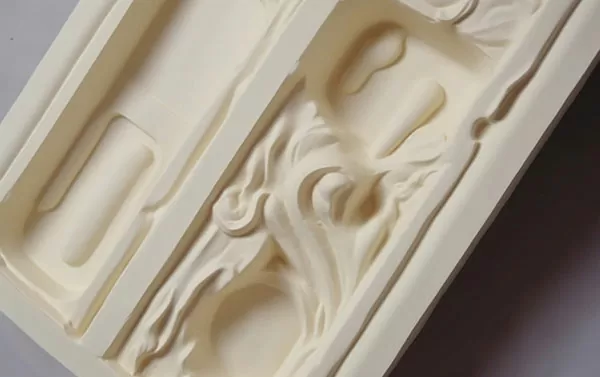
Very Adaptive
Plaster molds have the ability to adapt to complex shapes. Because the plaster mold making process is simple, it can be adapted to various complex shapes, such as simulating the shape of the human body, the shape of sculptures, etc. Compared with other mold making materials, it can produce complex molds more quickly to meet the needs of the maker.
Disadvantages
Long Manufacturing Time
It takes a relatively long time to make. The production of plaster molds takes time to dry and solidify, so the production cycle is longer compared to molds made of other materials.
Short Life
Plaster molds have a shorter service life. Because it is more susceptible to external factors such as moisture and temperature, it will cause the density of the mold to decrease and the strength to weaken, thus affecting the service life of the mold.
Poor Accuracy
Plaster molds are not as precise as other mold making materials. Since plaster molds have a high shrinkage rate, additional processing needs to be carried out according to the actual requirements of the mold during the making of the mold. Otherwise, the produced products may have problems such as size deviation and shape deformation.
Conclusion
To sum up, compared with injection molding or 3D printing, plaster molds have the advantages of lower production costs and strong adaptability to complex shapes, but they also have shortcomings such as long time consumption, short service life, and insufficient precision. When choosing to use it, you need to weigh it according to the actual situation and choose the most suitable mold making material.
Plaster mold making is a job that requires patience and skill, and requires a certain amount of experience and skills. The prepared plaster mold can be reused and products of the same shape can be made, improving production efficiency.