Introduction
Vacuum forming is a versatile and cost-effective manufacturing process widely used to create a variety of plastic products. It involves heating a plastic sheet until it becomes soft and pliable, draping it over a mold, and using a vacuum to shape the plastic tightly against the mold’s surface. This process offers significant advantages in terms of design flexibility, production efficiency, and lower costs compared to other manufacturing methods like injection molding or 3D printing.
One essential aspect of vacuum forming that can greatly enhance the appearance and functionality of the final product is the addition of a textured finish. A textured finish can provide several benefits, such as improved grip for handheld devices, hiding surface imperfections, and creating an attractive, tactile surface for various applications.
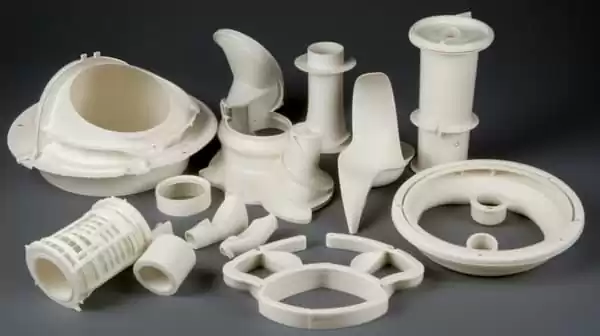
In this article, we will delve into the importance of adding a textured finish to vacuum-formed parts, exploring the various methods to achieve this effect. We’ll cover the three main techniques: using a textured mold, post-form texturing, and applying textured films or decals. Additionally, we’ll discuss the advantages of each method, the materials involved, and their applications in different industries.
By the end of this article, you’ll have a comprehensive understanding of how to create a textured finish on vacuum-formed parts, allowing you to enhance the visual appeal and functionality of your plastic products. So, let’s dive in and discover the art of texturing vacuum-formed parts!
Understanding Vacuum Forming and Its Process
Brief Explanation of Vacuum Forming:
Vacuum forming, also known as thermoforming, is a popular manufacturing process used to create plastic parts with a wide range of shapes and sizes. It is a cost-effective alternative to other molding techniques like injection molding, making it suitable for both small-scale productions and large manufacturing runs. Vacuum forming involves heating a plastic sheet until it becomes pliable, placing it over a mold, and using a vacuum to draw the sheet tightly against the mold’s surface. As the plastic cools, it retains the shape of the mold, resulting in a formed plastic part.
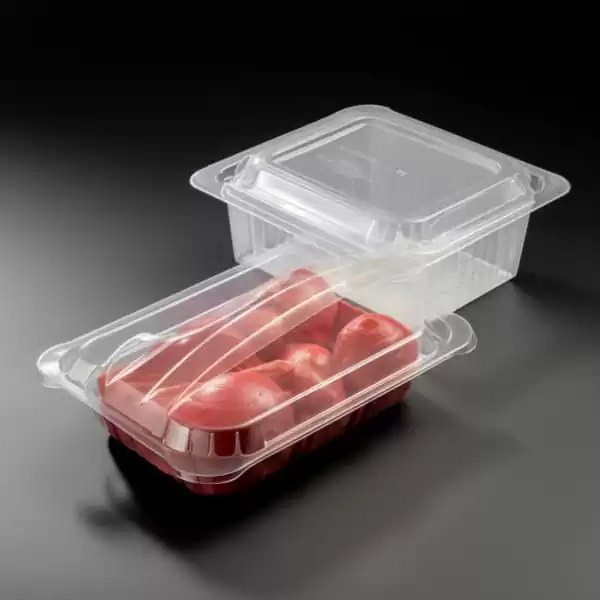
The Four Main Steps of the Vacuum Forming Process:
Clamping:
The process begins with clamping the plastic sheet securely in place within the vacuum forming machine. The sheet must be fixed in a way that ensures it won’t move during the forming process.
Heating:
The clamped plastic sheet is then heated until it reaches the optimal temperature for forming. The heating process softens the plastic, making it more malleable and ready to take the shape of the mold.
Forming:
Once the plastic is adequately heated, it is draped over the mold, and a vacuum is applied to remove the air between the sheet and the mold’s surface. This vacuum pressure draws the plastic tightly against the mold, conforming it to the desired shape. The amount of vacuum pressure used can influence the part’s thickness and the level of detail in the final form.
Cooling and Trimming:
After the plastic has taken the shape of the mold, the vacuum is released, and the formed part is allowed to cool and solidify. Once cooled, excess plastic is trimmed away to achieve the final shape of the vacuum-formed part. The cooling process ensures that the part retains its formed shape and maintains dimensional stability.
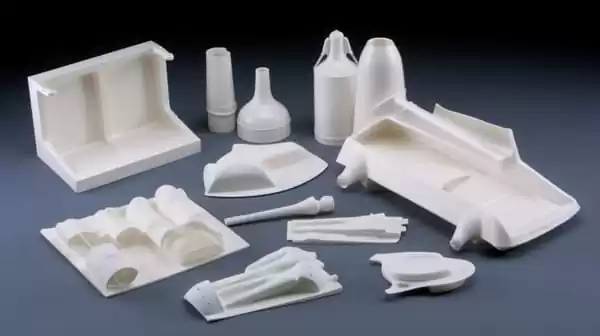
Advantages of Vacuum Forming as a Cost-Effective Alternative:
Vacuum forming offers several advantages that make it a cost-effective alternative to other molding techniques:
Lower Tooling Costs:
Creating molds for vacuum forming is generally less expensive compared to injection molding or other complex molding methods. This makes it a cost-effective choice for smaller production runs or prototyping.
Design Flexibility:
Vacuum forming allows for design flexibility, enabling the production of parts with various shapes, sizes, and textures. It can accommodate both simple and intricate designs.
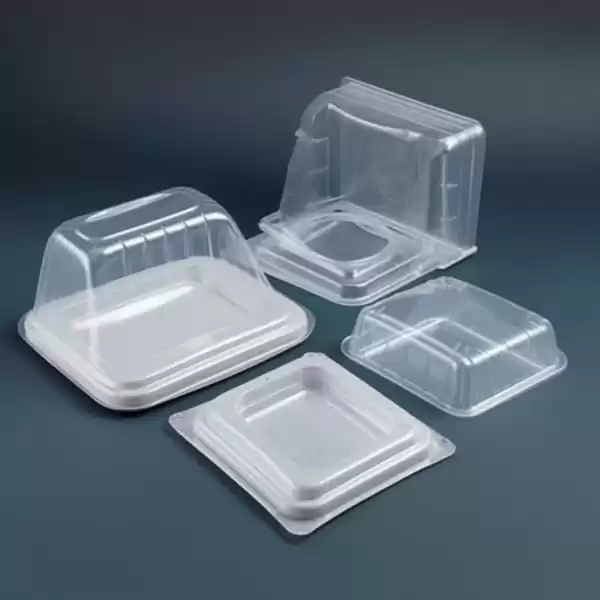
Reduced Production Costs:
The relatively low tooling costs and the ability to create multiple parts simultaneously contribute to lower production costs overall. This makes vacuum forming an attractive option for businesses seeking cost-efficient manufacturing solutions.
Short Production Runs:
Vacuum forming is well-suited for short production runs, providing a viable option for companies needing smaller quantities of parts without the high upfront costs of other molding techniques.
Material Options:
Vacuum forming supports a wide range of plastic materials, including ABS, polystyrene, and acrylics, among others. This versatility allows manufacturers to choose materials that best suit their specific requirements.
In conclusion, vacuum forming is a versatile and cost-effective manufacturing process that offers excellent design flexibility and the ability to create complex parts without high tooling costs. By understanding the four main steps of the vacuum forming process and its numerous advantages, businesses can make informed decisions when choosing the best manufacturing method for their projects.
Design Flexibility in Vacuum Forming
Vacuum forming offers exceptional design flexibility, making it a popular choice for creating parts with diverse shapes and intricate details. This flexibility stems from several factors that allow manufacturers to achieve unique and complex designs:
Ease of Mold Creation: Vacuum forming molds can be fabricated quickly and cost-effectively, enabling rapid design iterations and prototyping. This efficiency allows designers to explore different concepts and make adjustments as needed without incurring significant tooling costs.
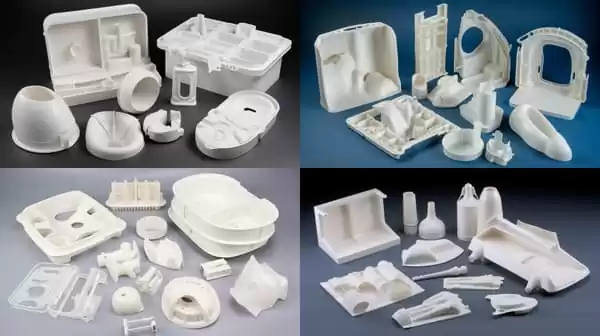
Draft Angles and Undercuts: With vacuum forming, it is possible to incorporate draft angles and undercuts in the mold design. Draft angles facilitate easy part release from the mold, while undercuts enable the formation of intricate features that would be challenging to achieve with other molding processes.
Texturing the Mold Surface: By adding textures to the mold surface, designers can impart various patterns, textures, and embossed details directly onto the vacuum-formed part. This opens up a wide range of possibilities for creating visually appealing and functional textured finishes.
Deep Draws and Complex Shapes: Vacuum forming can accommodate deep draws and complex shapes without compromising structural integrity. This feature is especially advantageous for applications that require parts with curvature and depth.
Method 1: Using a Textured Mold
Explanation of Using a Textured Mold for Textured Finishes: A textured mold is a tool with a surface that carries the desired texture or pattern. When the heated plastic sheet is placed over the textured mold during the vacuum forming process, the texture is transferred directly onto the formed part.
Steps to Achieve a Textured Finish Using a Textured Mold:
1.Choose or Design the Textured Mold: Select a pre-made textured mold or create a custom mold with the desired texture. The texture could range from simple patterns to complex surface details.
2.Prepare the Plastic Sheet: Cut the plastic sheet to the appropriate size and ensure it is clean and free from contaminants to achieve a smooth and consistent textured finish.
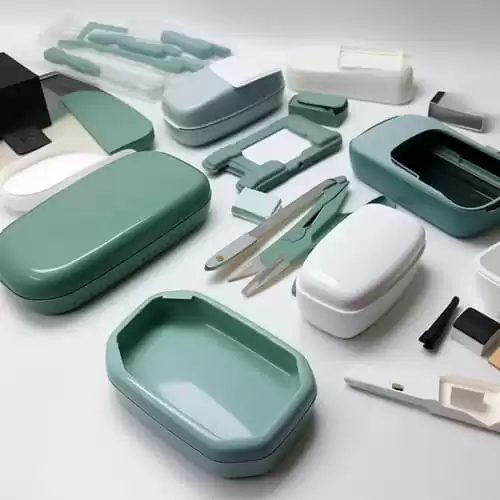
3.Heat and Vacuum Form: Place the plastic sheet over the textured mold in the vacuum forming machine. Heat the plastic until it becomes soft and pliable. Then, engage the vacuum to draw the plastic tightly against the textured mold surface, shaping the plastic sheet into the desired form.
4.Cool and Release: Allow the plastic to cool and solidify, maintaining the shape and texture of the mold. Release the vacuum, and the textured vacuum-formed part is ready for trimming and finishing.
Benefits of Using a Textured Mold in the Vacuum Forming Process:
Seamless Integration: The texture is directly embossed onto the part, resulting in a consistent and seamless surface.
Improved Grip and Aesthetics: Textured finishes enhance grip and provide a visually appealing appearance to the final product.
Time and Cost Savings: Texturing the part during the vacuum forming process eliminates the need for additional post-form texturing steps, saving time and costs.
Method 2: Post-Form Texturing
Explanation of Post-Form Texturing for Vacuum-Formed Parts: Post-form texturing involves adding texture to the surface of the formed part after the vacuum forming process is complete.
Techniques for Post-Form Texturing, such as Sandblasting and Chemical Etching:
1.Sandblasting: High-pressure sand or other abrasive materials are directed at the surface of the vacuum-formed part, creating a textured pattern.
2.Chemical Etching: Chemical agents are used to remove a thin layer of material from the surface, leaving behind a textured finish.
Considerations for Adding Texture to the Formed Part After Vacuum Forming:
Material Compatibility: Ensure the chosen texturing technique is compatible with the plastic material used in the vacuum forming process.
Part Integrity: Be mindful of the part’s structural integrity, as aggressive texturing methods may weaken the part.
Method 3: Using Textured Films or Decals
Introduction to Using Textured Films or Decals for a Textured Finish: Textured films or decals are adhesive-backed materials with various patterns and textures that can be applied to the surface of the vacuum-formed part.
Steps to Apply Textured Films on the Vacuum-Formed Part:
1.Choose the Textured Film: Select a textured film or decal that aligns with the design and functionality requirements of the part.
2.Prepare the Surface: Ensure the surface of the vacuum-formed part is clean and free from debris or contaminants that may affect adhesion.
3.Apply the Textured Film: Carefully peel off the backing of the textured film and apply it to the surface of the part. Smooth out any bubbles or wrinkles for a seamless finish.
Advantages and Considerations of Using Textured Films:
- Versatility: Textured films offer a wide variety of patterns and textures, providing a vast range of design options.
- Reversibility: Textured films can be easily removed and replaced, making them a non-permanent option for adding texture to the part.
Textured Vacuum Formed Parts and Their Applications
Overview of Industries and Applications for Textured Vacuum-Formed Parts: Textured vacuum-formed parts find applications in various industries, including automotive, electronics, packaging, consumer goods, and architectural applications.
Benefits of Adding Textures to Enhance Grip and Aesthetics:
- Improved Grip: Textured surfaces provide enhanced grip, making them ideal for handheld devices, control panels, and ergonomic products.
- Aesthetic Appeal: Textured finishes add visual interest and an upscale appearance to products.
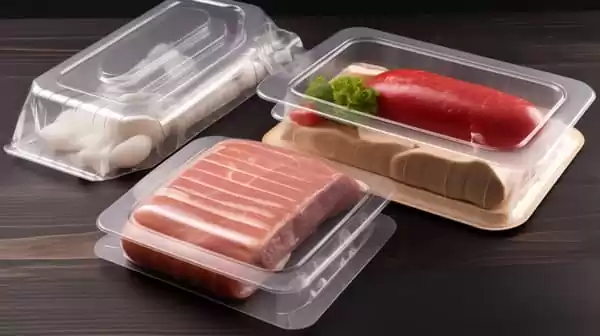
Examples of Where Textured Finishes Are Commonly Used:
- Automotive Interior Components: Textured finishes are commonly used on dashboard panels, center consoles, and door trims to add an appealing tactile feel.
- Packaging: Textured finishes on packaging can improve brand perception and provide a premium look and feel to the product.
Comparing Vacuum Forming with Other Processes
Comparison of Vacuum Forming with Injection Molding, 3D Printing, and Pressure Forming:
- Cost-effectiveness: Vacuum forming is generally more cost-effective for small production runs compared to injection molding or 3D printing.
- Design Complexity: Vacuum forming allows for intricate designs and undercuts, which can be challenging with other processes.
Advantages of Vacuum Forming for Short Production Runs:
- Tooling Costs: Lower tooling costs make vacuum forming an attractive option for short production runs and prototyping.
- Quick Turnaround: The speed of mold fabrication and production setup in vacuum forming facilitates quick turnaround times for smaller quantities.
In conclusion, vacuum forming provides exceptional design flexibility, enabling the creation of complex shapes, textures, and draft angles. Whether using a textured mold, post-form texturing, or textured films, manufacturers can add appealing textures to vacuum-formed parts for various industries and applications. Comparatively cost-effective and offering multiple advantages, vacuum forming stands out as a versatile manufacturing process that caters to diverse design needs and production requirements.
Conclusion
Recap of the Importance of Adding Texture to Vacuum-Formed Parts: The process of vacuum forming offers significant design flexibility and cost-effectiveness, making it a popular choice for manufacturing a wide range of plastic products. However, to elevate the visual appeal and functionality of vacuum-formed parts, adding texture is a crucial step. Texturing provides numerous benefits, including improved grip for handheld devices, enhanced aesthetics, and the ability to hide surface imperfections. Whether for automotive components, consumer electronics, or architectural applications, texturing brings an added dimension of quality and usability to the final product.
Summary of the Methods Discussed: Using a Textured Mold, Post-Form Texturing, and Textured Films: Throughout this article, we explored three effective methods to create a textured finish on vacuum-formed parts:
- Using a Textured Mold: Incorporating a textured mold during the vacuum forming process allows the texture to be directly embossed onto the formed part. This method ensures consistency and seamlessness, as the texture is imprinted directly from the mold.
- Post-Form Texturing: Post-form texturing involves adding texture to the surface of the vacuum-formed part after the forming process is complete. Techniques such as sandblasting and chemical etching provide flexibility in achieving various textures and patterns.
- Using Textured Films or Decals: Textured films or decals offer a non-permanent and versatile solution for adding texture. They come in a wide range of patterns and textures, allowing for quick experimentation and customization.
Final Thoughts on Creating Visually Appealing and Highly Functional Vacuum-Formed Parts Through Texturing: Texturing is a powerful tool that can transform simple vacuum-formed parts into visually appealing and highly functional products. By carefully selecting the appropriate method for each project, manufacturers can achieve unique textures and finishes that suit the specific needs of their applications. Whether it’s adding improved grip to handheld devices, elevating the aesthetics of automotive interiors, or providing an upscale look to consumer packaging, texturing enhances the overall value and quality of the vacuum-formed parts.
Furthermore, vacuum forming stands out as a cost-effective and versatile manufacturing process, offering design flexibility and the ability to create complex shapes with ease. By understanding the different methods available and the benefits they bring, businesses can make informed decisions to optimize their production processes and deliver exceptional vacuum-formed parts to their customers.
In conclusion, the art of texturing vacuum-formed parts empowers manufacturers to create products that not only meet functional requirements but also excite and delight end-users with their visual appeal and tactile experience. As technology and materials continue to advance, the possibilities for texturing vacuum-formed parts will only expand, allowing for even more innovative and creative applications across various industries. With a focus on excellence in texturing, manufacturers can continue to drive the evolution of vacuum-formed products, shaping a future where form and function coalesce in harmony.


